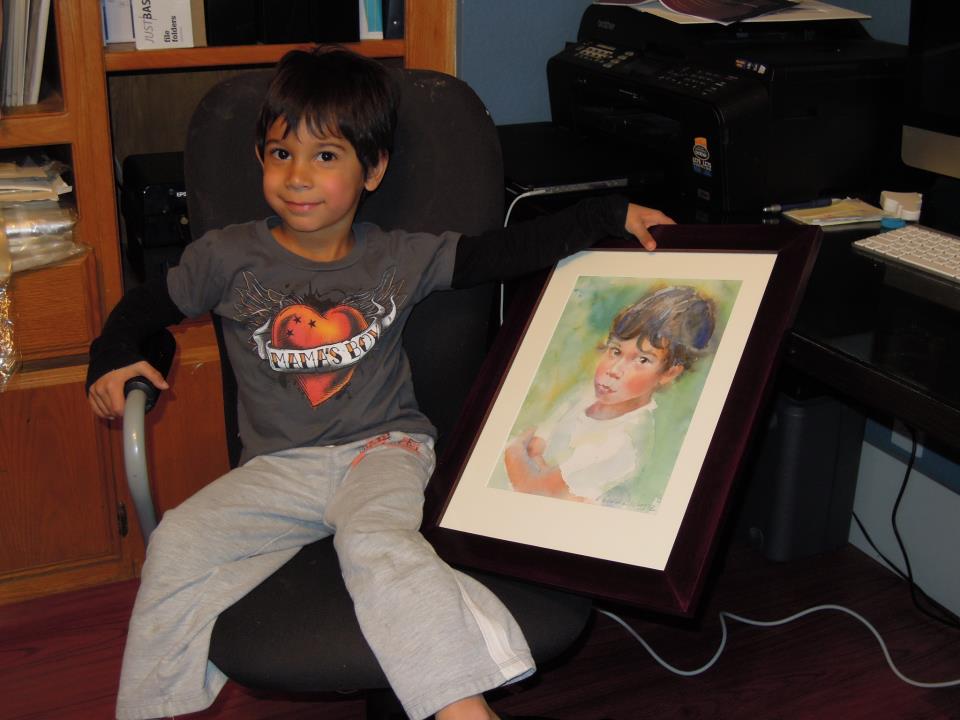

Another step-by-step! This little guy is my son's best buddy (on most days :)) The portrait painting was a Christmas gift to his dad.
I had a choice of several very good photos to work from. I love it when collectors trust me to make a recommendation, or even decision, on what photo would make a better painting. At this point, I can work from unimaginably bad snapshots but it's always easier to begin with a good photo reference. Out of the photos I was given, I liked the one I ended up painting right away, and the collector also suggested one with the classic looking-straight-at-the-camera pose.
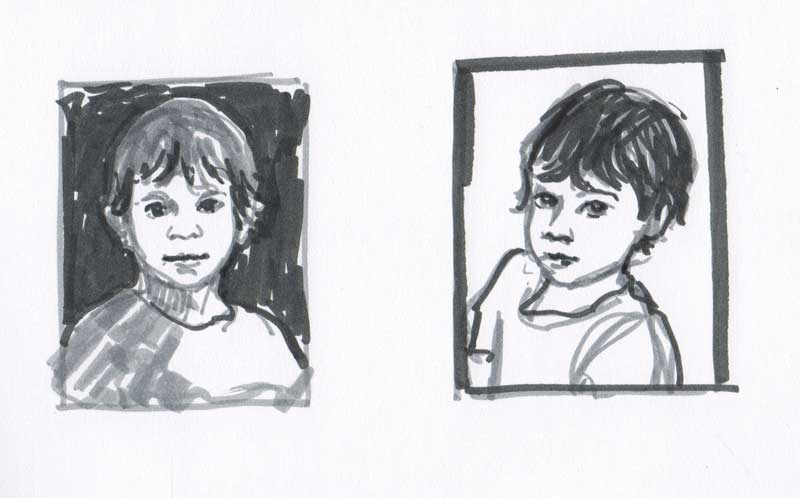
Step 1. I made two thumbnail sketches based on the two photos we chose. The sketches help me get more familiar with my subject and also kind of test out my initial feelings about the reference photos. I definitely liked the one on the right more, and after a discussion with the collector, she agreed with me. The sketch on the left is your standard kid picture (minus the usual toothy grin). Any kid. The one on the right is definitely a particular kid, the one with the attitude and his own thoughts in his head, and it's Vaughn.

Step 2. Drawing using the grid method. Since I had both a tilt and a turn to his head in this portrait, it was important for me to double-check the grid drawing with a few ellipses connecting the facial features of the boy. If you have no idea what I'm talking about or want a refresher course, I recommend the free YouTube videos by Stan Prokopenko. Good stuff!
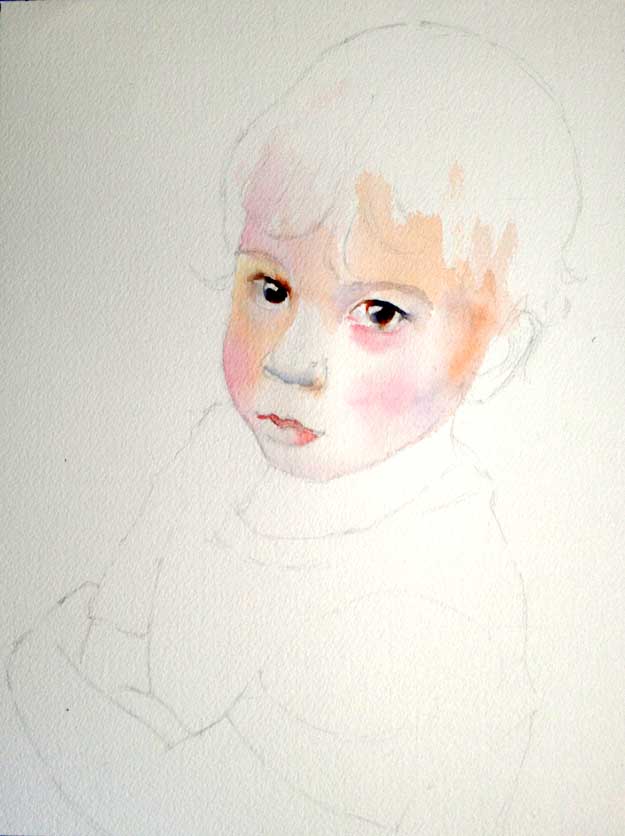
Step 3. I jumped right in! Beginning with the eyes (I felt that they were the most important part of the painting).
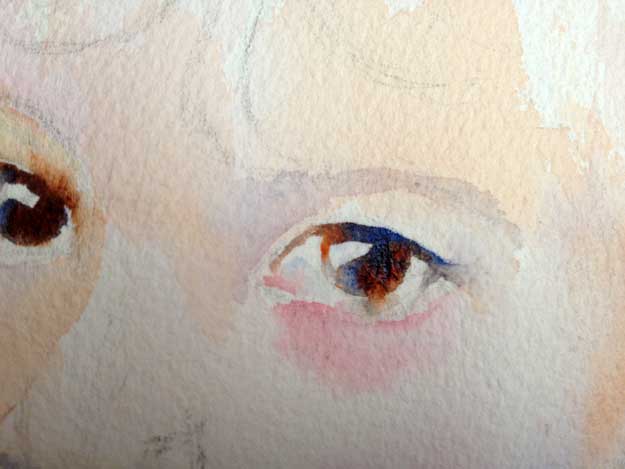
Closeup of the eye.

Step 4. I like to integrate the figure and the background (vs. painting them separately), so here is what it looked like after one wash. At this point, I let it dry.
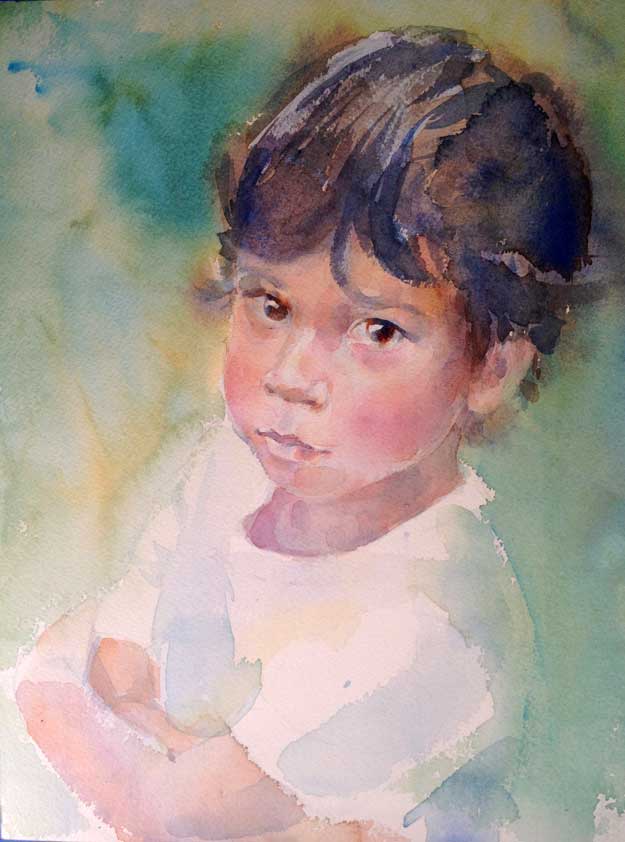
Step 5. The background is left as it is. I concentrate on the face, defining the main light and shade patterns. It helps to know where your light is coming from. In this case, it's on the top left. This means, for example, that the left side of the boy's head will be a bit lighter than the right.
Step 6. More detail on the face and arms. I also decided to define the edge of his farther shoulder by placing a light background wash next to it.