
You have many great options when it comes to making cards with your artwork on them. The easiest one is outsourcing the whole process through a print-on-demand website (FineArtAmerica.com, Society6.com, RedBubble.com, Imagekind.com, etc). If you want a larger run of the same image, a printer like VistaPrint is probably your best bet. All of these services will give you a good quality, albeit generic-looking card. Now, what if you want to be a little more personal? I, for example, love having my signature on my cards. It's like a stamp of approval. It's me holding it in my hands, liking what I see, and saying so to my collector (because yes, even those who buy a card from me become my collectors :)). So this is how I do it:
1. The print
Let's assume you already have a nice, high-resolution, color-corrected digital image of your artwork. I scan most of mine, photograph those that can't be scanned and then adjust the color using Photoshop.
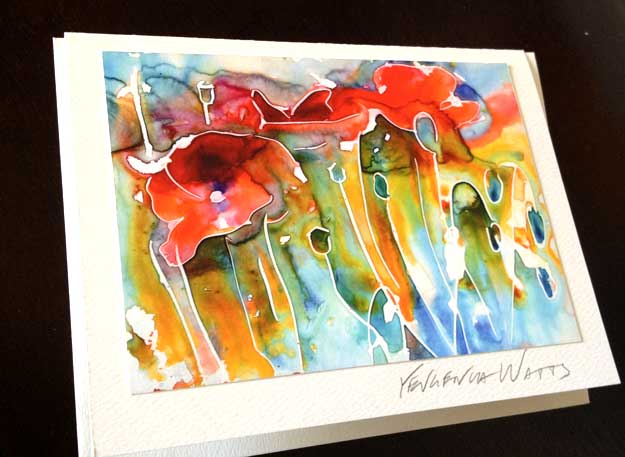
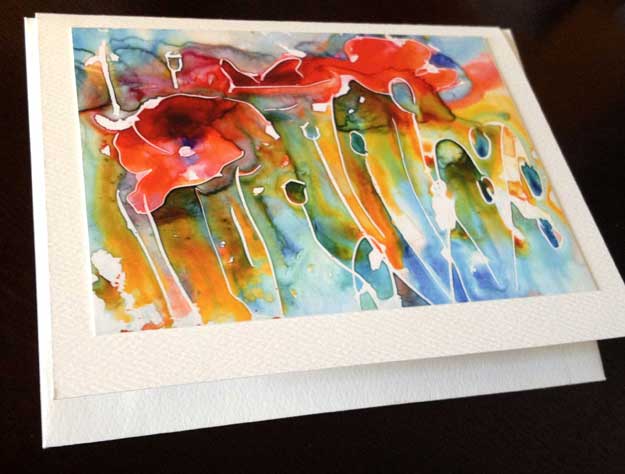
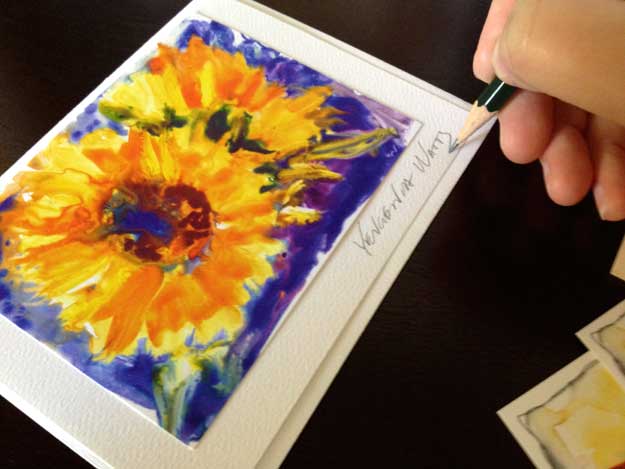
I use the same printer (Epson Stylus Pro 3880 Color Inkjet Printer) and paper (Epson Ultra Premium Presentation Paper MATTE) that I do for my open edition prints. Probably not the most cost-efficient choice, but the quality of image is superb and I like the fact that these cards are "frameable." I suspect that a regular home office printer capable of printing color photos should be able to do the job. I print the images a bit smaller than the dimensions of the card, so that I have space for the signature and the border.
2. The blank cards
Once again, lots of choices here. I tried about ten different kinds and found that I like Avery Personal Creations Textured Heavyweight Note Card and Envelopes, 4-1/4 x 5-1/2, 50 per Box (3379). They have a nice watercolor-paper-like texture and you can print on them using a desktop printer. I printed my information on the back of the cards before I began using stamps (see below).
3. The tape
For attaching the print to the card, I use ATG Tape. I also happen to own an ATG Tape Dispenser, which is not a requirement but it definitely speeds up the process.
4. Your artist signature
I sign the card on the front under the image. Right now, I use an HB or H pencil (harder pencils don't smudge and pretty much emboss the signature into the card). I tried black and colored ink pens, permanent markers in different colors, and I just find anything but a pencil too distracting. It is a personal preference, and you should find your own :)
5. Your back of the card info
On the back of the card, I put my artist information. This can include the artist's name, the painting title and medium, website, email address, phone number, and even your photo and artist statement or bio.
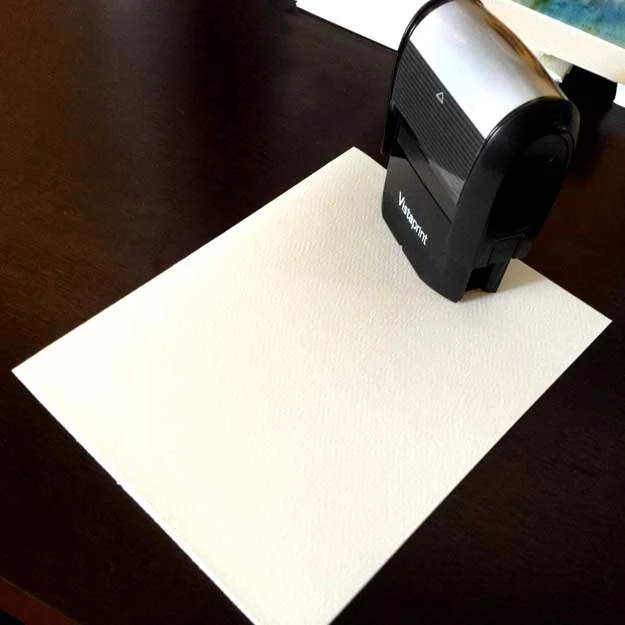
I use a stamp I ordered through Vistaprint.com with just my name, phone number, and website address. I find it a whole lot easier than printing on the cards using a desktop printer.

6. The envelope
Don't forget the envelope! It goes inside the card :)

7. The packaging
I package a finished card in an acetate envelope that is a tiny bit bigger than the card. I buy those through Clearbags.com but they are also available at art supply stores and even Amazon.com.

Voila! All done and ready to be sold, gifted, and in general shown off :)

Questions? How do you make your cards? Leave me a comment below!