Zingy, Zesty, Tasty Color

This little painting now lives in the home of my friends and collectors, somewhere in Italy. It's almost like a piece of me fulfilling the dreams of worldwide travel. It's a curious feeling.

This image of a lemon cut in half is also one of my best-selling prints, and I imagine it is so because it makes such a fresh and colorful statement piece for a kitchen or dining room. It is definitely not shy. It is bursting with juicy colors that, well, go well together!

I had such a great response to my Coastal Living color palette post, that I decided to make it into a series and continue making inspirational color palettes based on my paintings. I hope you will find these helpful for your interior design and home decorating projects.

If you feel that your kitchen or dining room needs some citrusy, lemony, mouth-wateringly zesty pick-me-up, go here to buy one of these prints!

Watercolor Portrait Step by Step (Theo)

This is Theo, the little brother of Simon, whose step-by-step portrait I posted a while ago.

Step 1. Thumbnail sketch, in color:

I use thumbnail sketches like these for three purposes:

1. This is the initial translation of a photo to an artwork that I do. It lets my collector see what I see when I look at their photo. It gives them a rough idea of the final result.

2. In the absence of a live model (not that I paint dead models...wait, yes, I do...) - anyway, most of the time, people, kids especially, do not sit for my portraits. They send me photos and these photos are the only source of information about them that I have. So, spending some time with the pictures, and making these little sketches of them, is a way for me to get to know them a little better.

3. Finally, these sketches are essential tools I use for planning my paintings. How much of the photo do I crop? Do I need to rotate things? Move something? Delete something? Which colors will I use? Which values will work best? All of these questions can be worked out in advance, in a thumbnail sketch.

On to Step 2, Drawing.

I used grid method for this drawing. I won't go into detail on how to do it here but I am including it into the bonus chapter of my "How I Paint Children" ebook, which you will be able to get very soon (and if you are on my email list, you will be the first to get it. For free.)

Step 3. First couple of layers. I keep things very wet at this point and paint runs all over the place. Yes, the green background bled into the boy's face but that's okay. Keep reading :)

Step 4. Once my first wash was dry, I lifted off some of the green on his face and began adding definition to the shadow areas.

Step 5. Adding light blue washes on his forehead, chin, and above his eyes. Defining his eyes, nose, lips, and ears more. More texture along the hairline.

Step 6. I don't always do it, but in this particular portrait, I smoothed out much of my brushwork on face. This will give the painting a more finished, detailed, and polished look. For that, I use a soft synthetic brush. Here's my favorite one:

This is a Cotman 1/2" flat brush but any softish synthetic brush will do. I originally bought it for the one and only watercolor class I took in the U.S., and it didn't take as a painting brush. It's great for blurring the edges though.

Step 7. I added another background wash to deepen the color. A little more fiddling with the details.

Step 8. The background wash left a hard edge around the head (phtalo blue tends to do that). So I softened the edge and lifted off some hairs here and there. Done!

July Virtual Paintout - Santa Fe (and a little bit about Monterey)

I managed to squeeze in a Virtual Paintout last month. Not the almost-epic, half-sheet street scene like I did the month before, but a small and fast sketchbook spread. It still counts and I'm super proud of myself :) .

Street market in Santa Fe.

This is also supposed to become a video some time soon. As in, I have the footage of me sketching and painting it but I need it to be edited. By someone. If you know anyone, please send them my way.

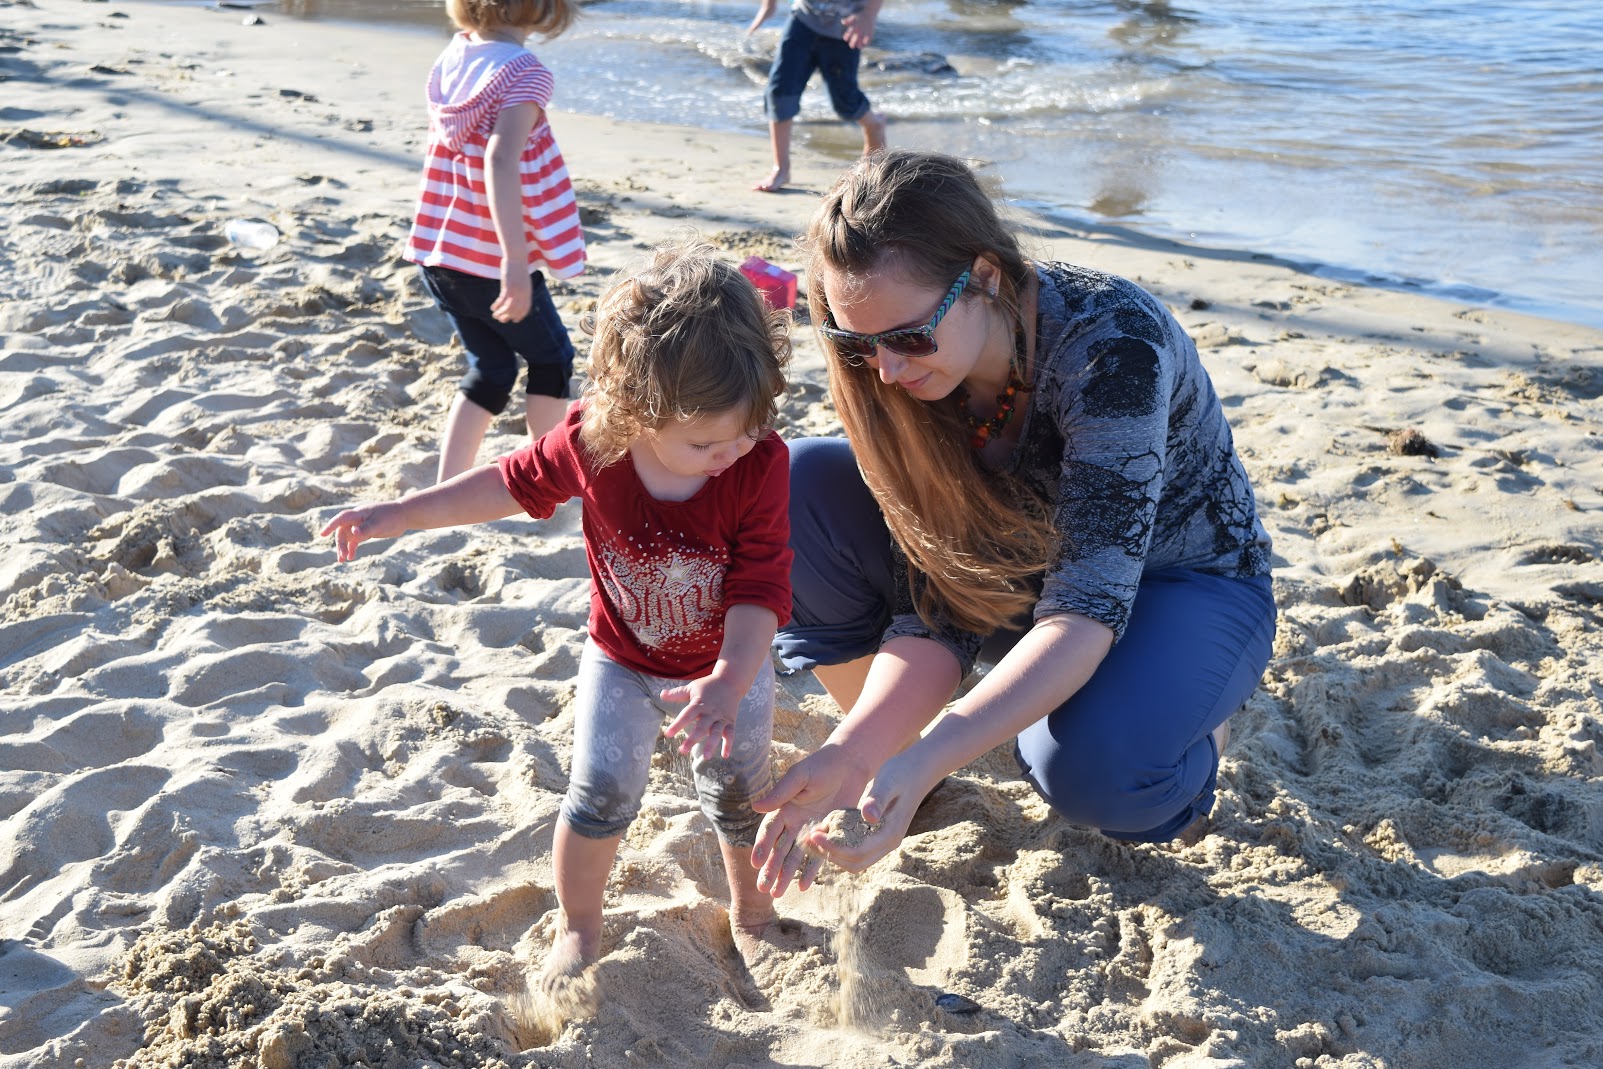
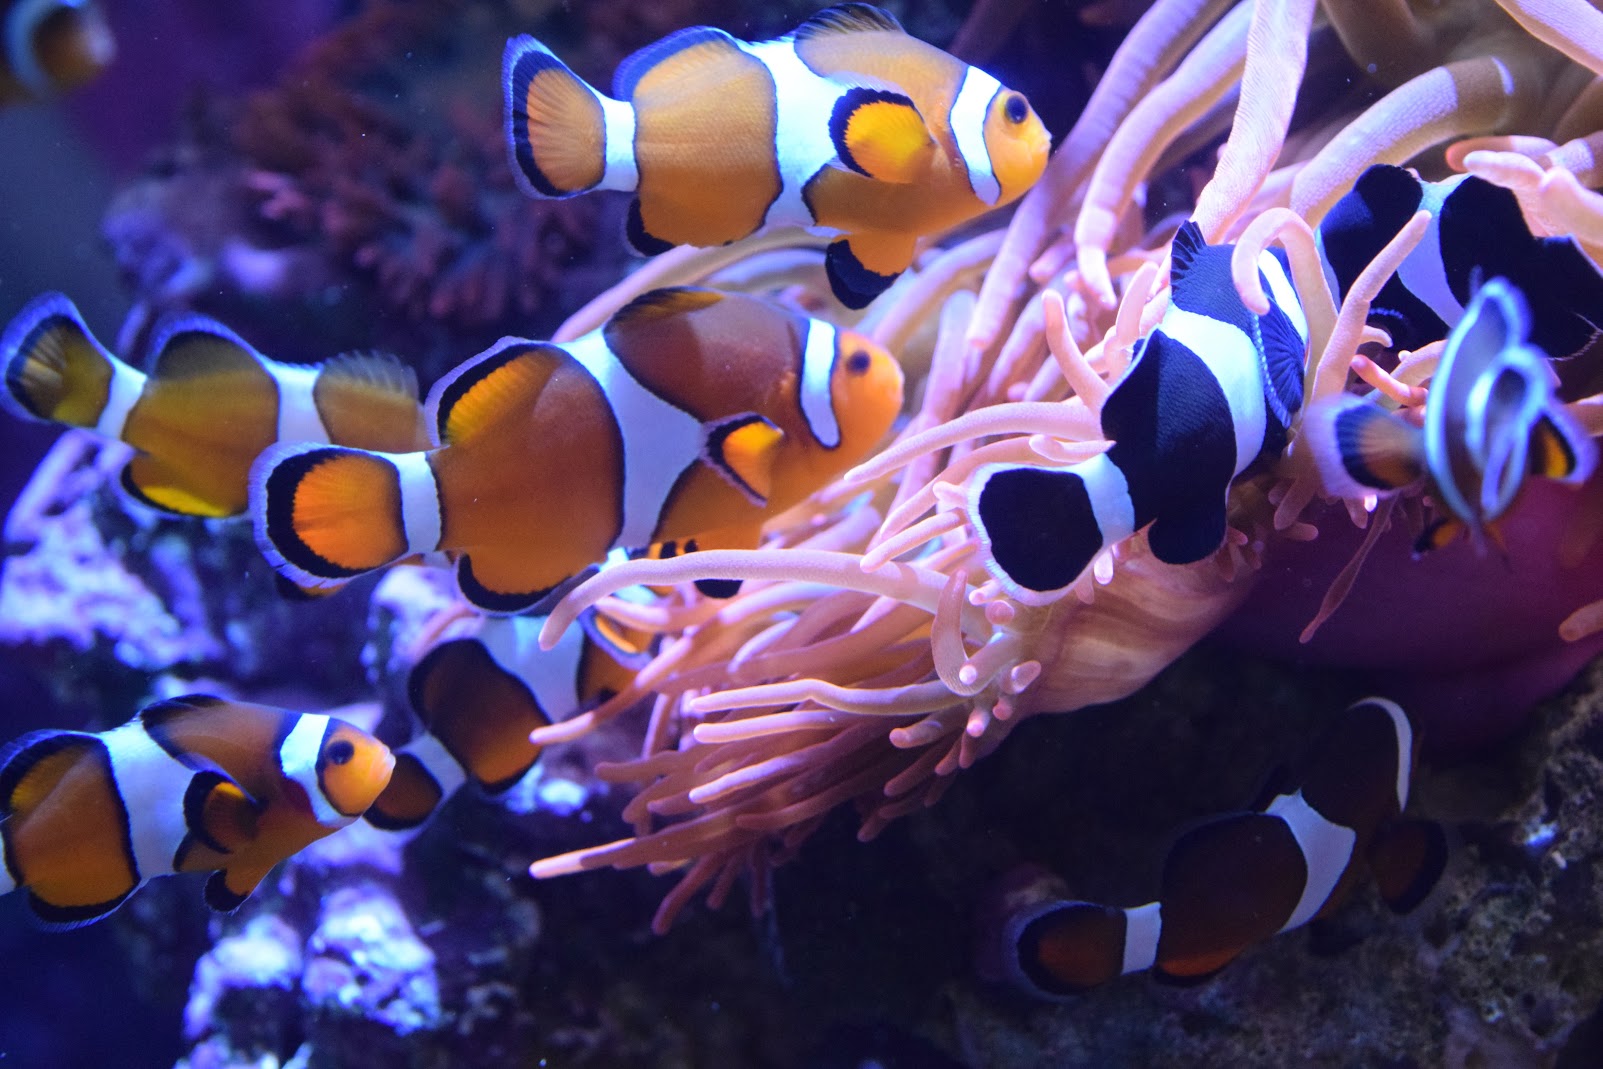
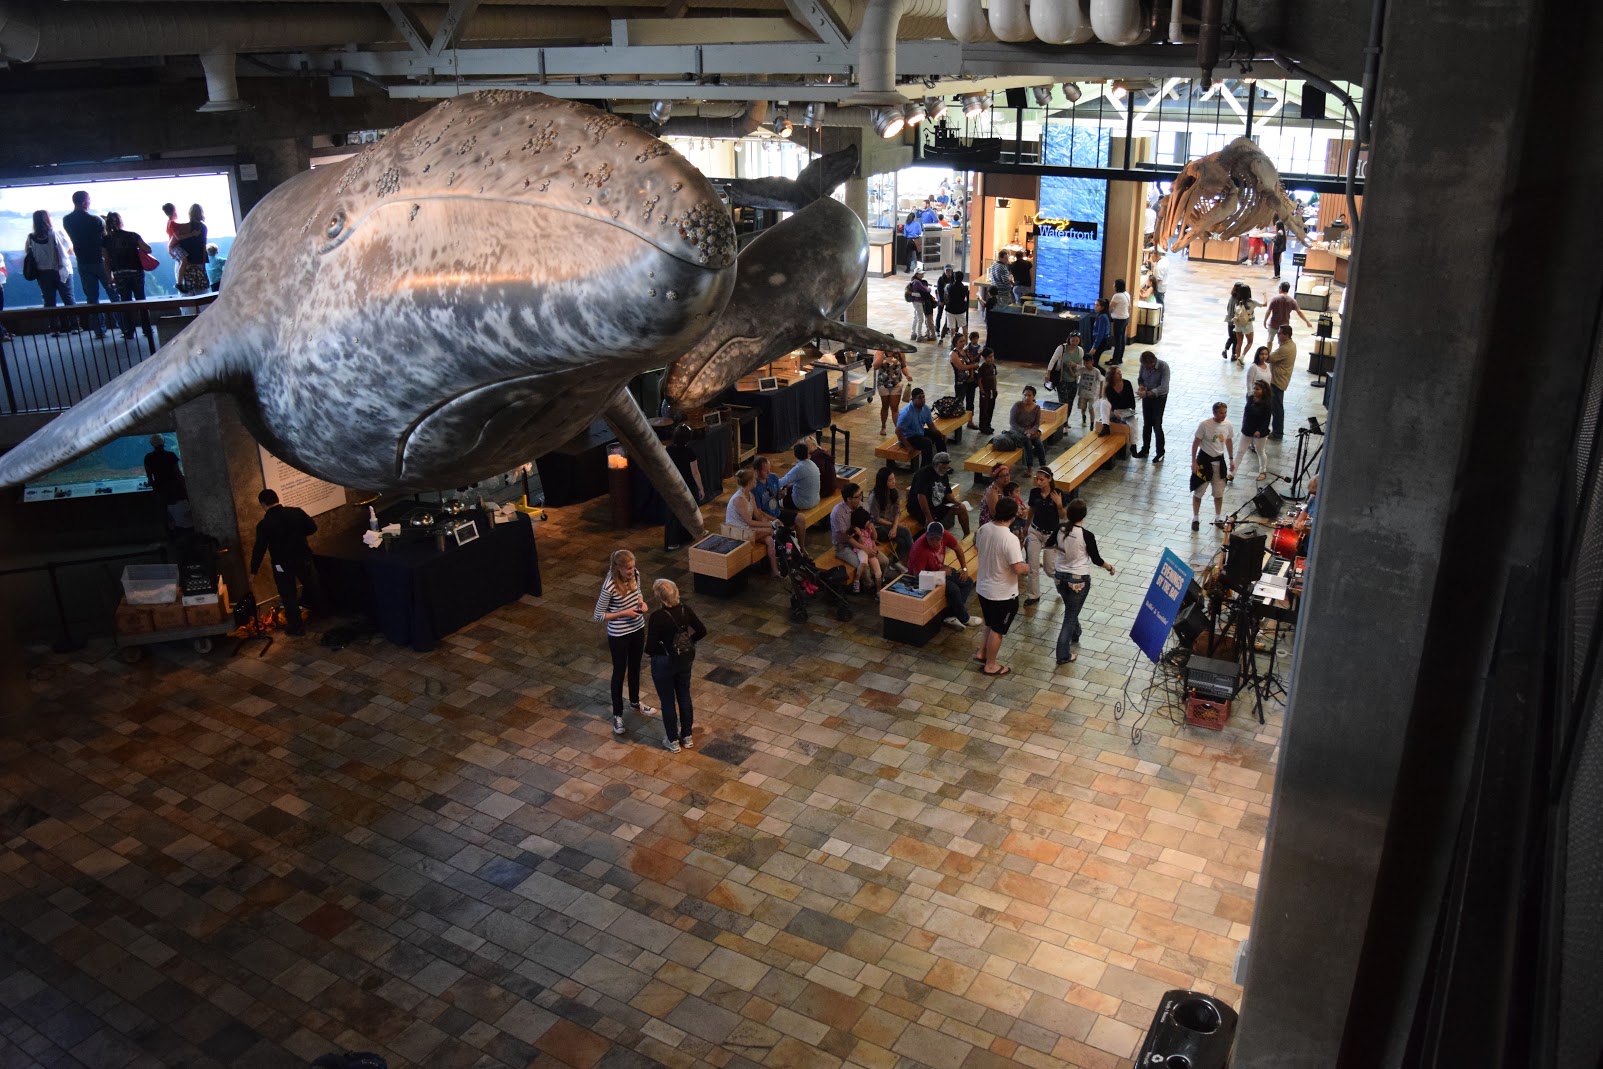
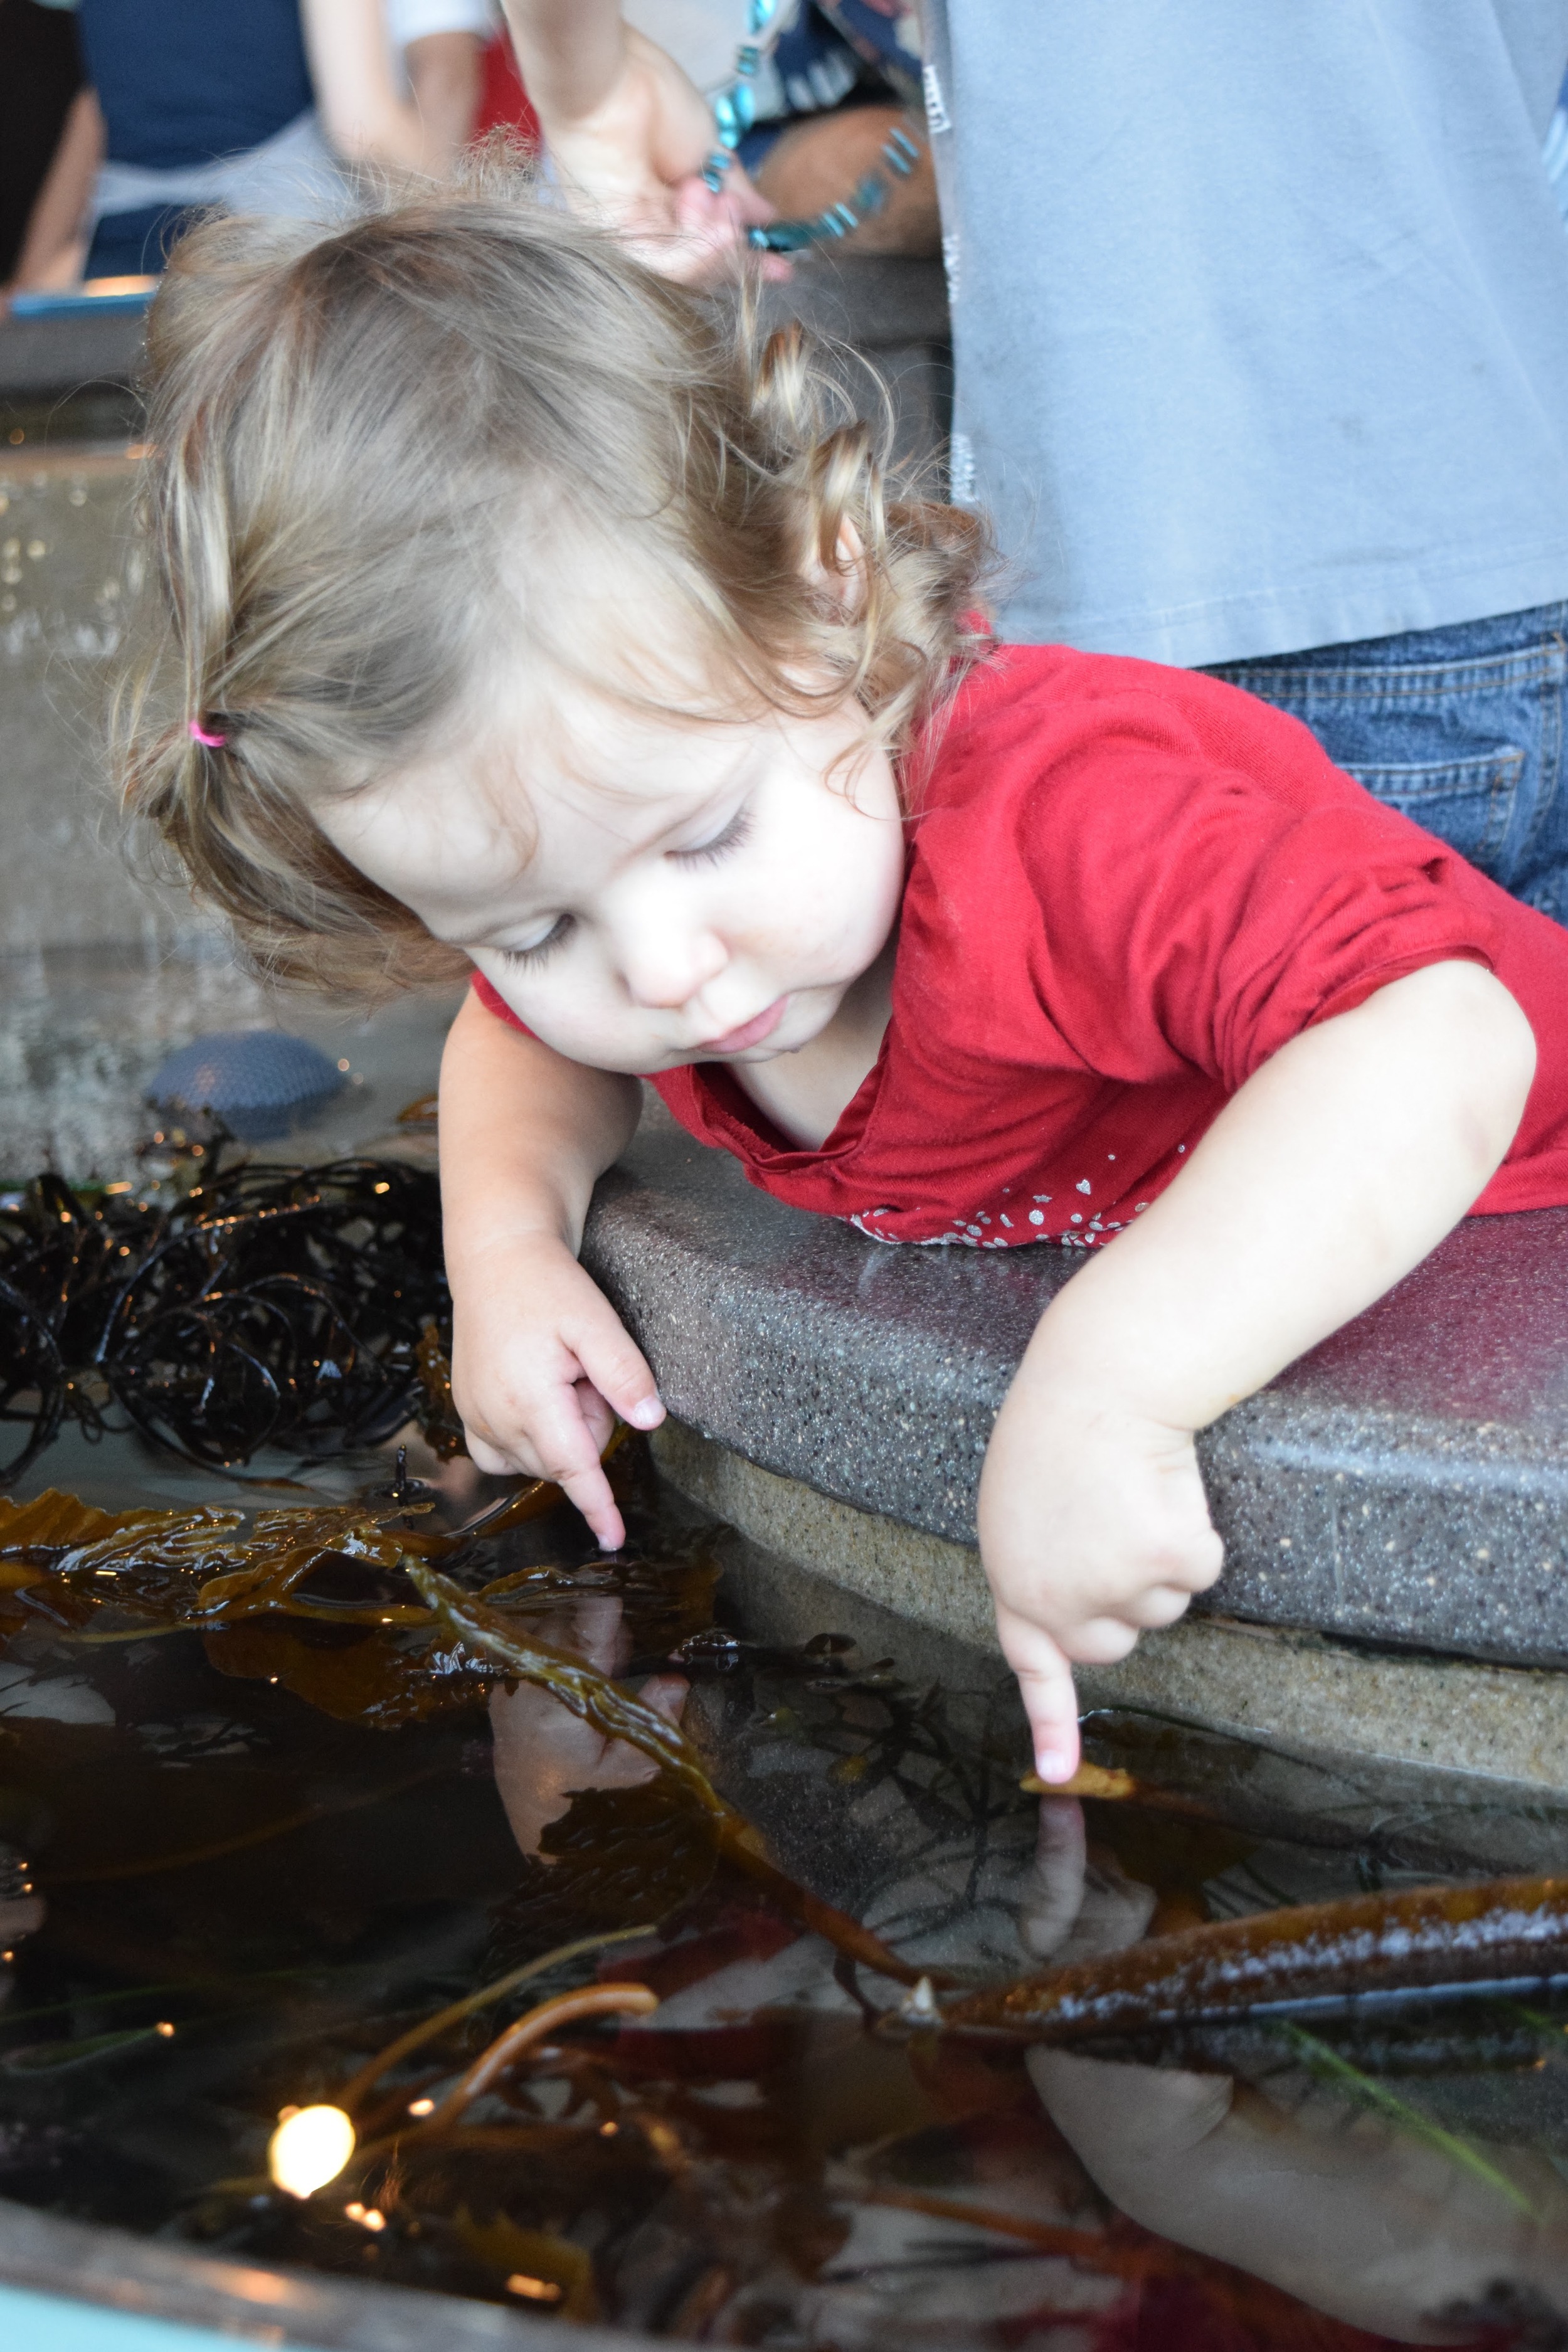
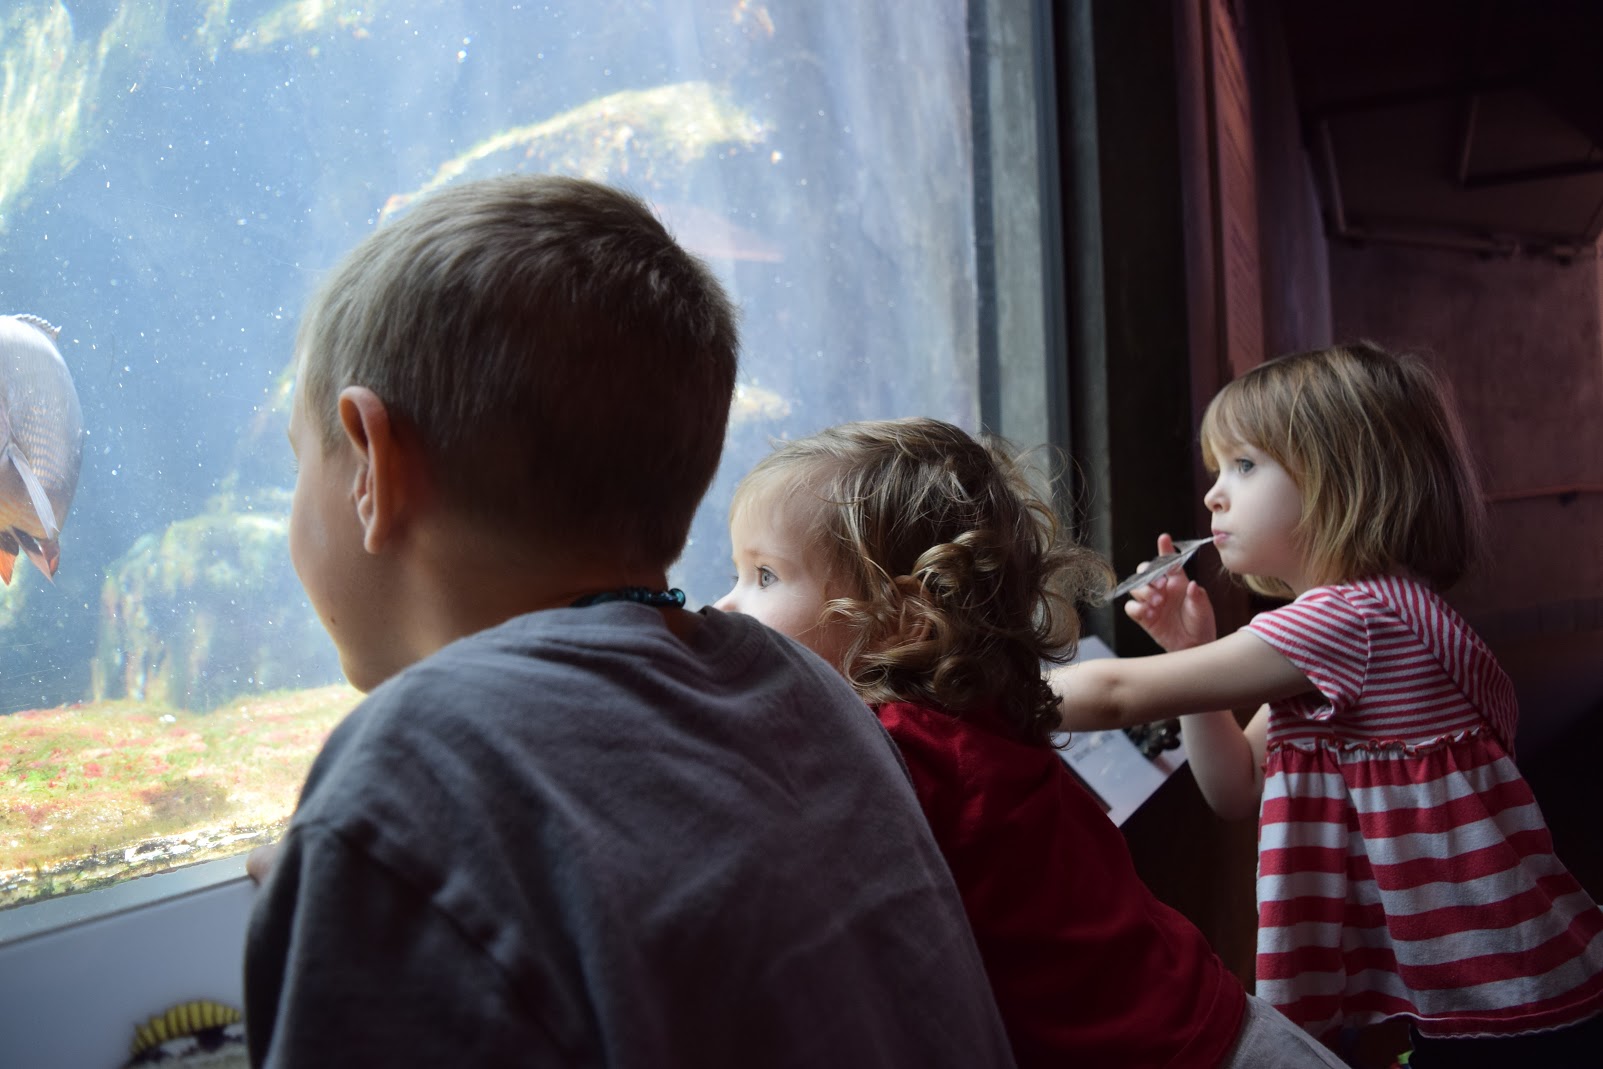
This month, Virtual Paintout is in Monterey, CA, and there is no way I'm going to miss that! In fact, I may have to make another real life trip there for this purpose! We have already visited Monterey this year. Took all three kids to the aquarium and the beach. I wishfully bring sketchbooks pretty much anywhere we go, but of course, with a 5, 3, and 1-year old around, there is never a time to quietly sit down and sketch. Except, maybe, in the car. Which is what I did :)

Car sketch

Fruit stand. Started this one in the parking lot, added color at home.

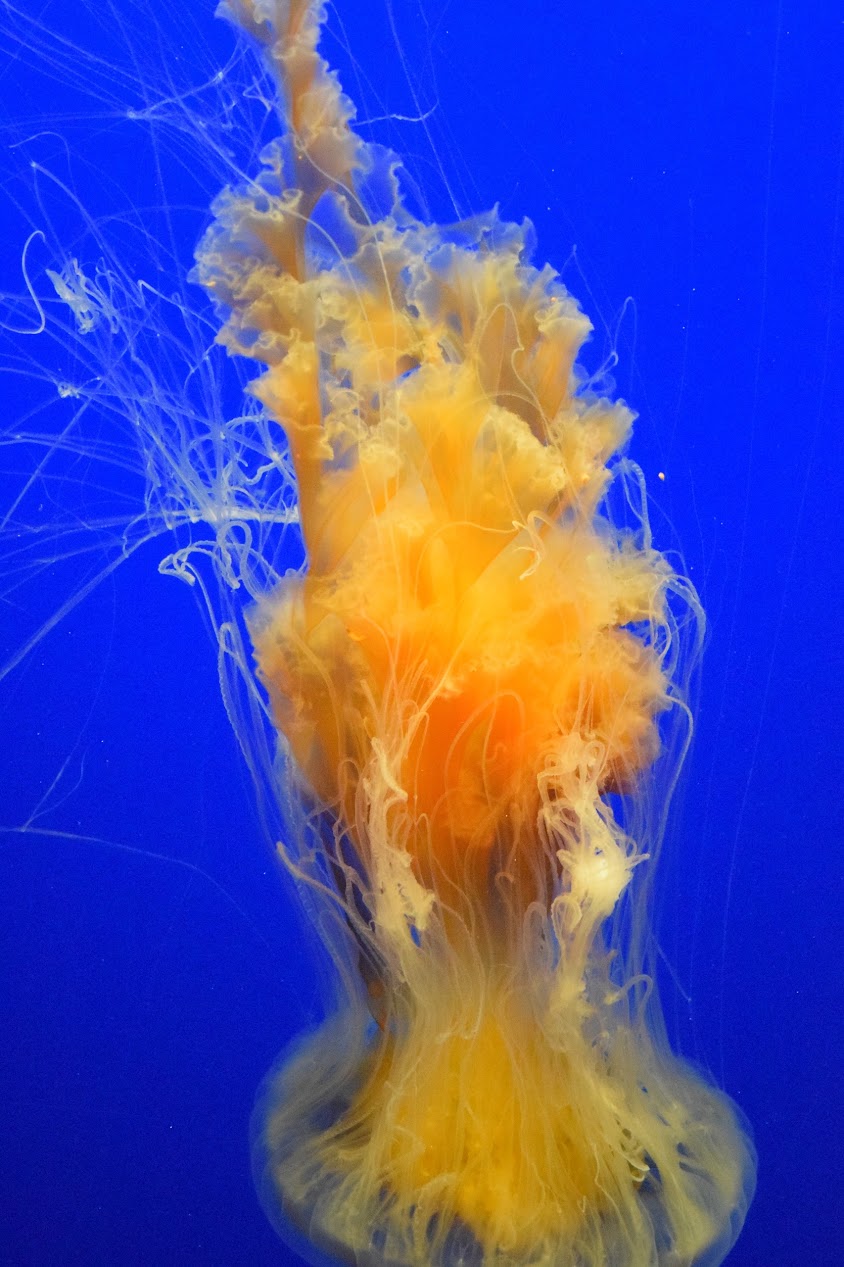
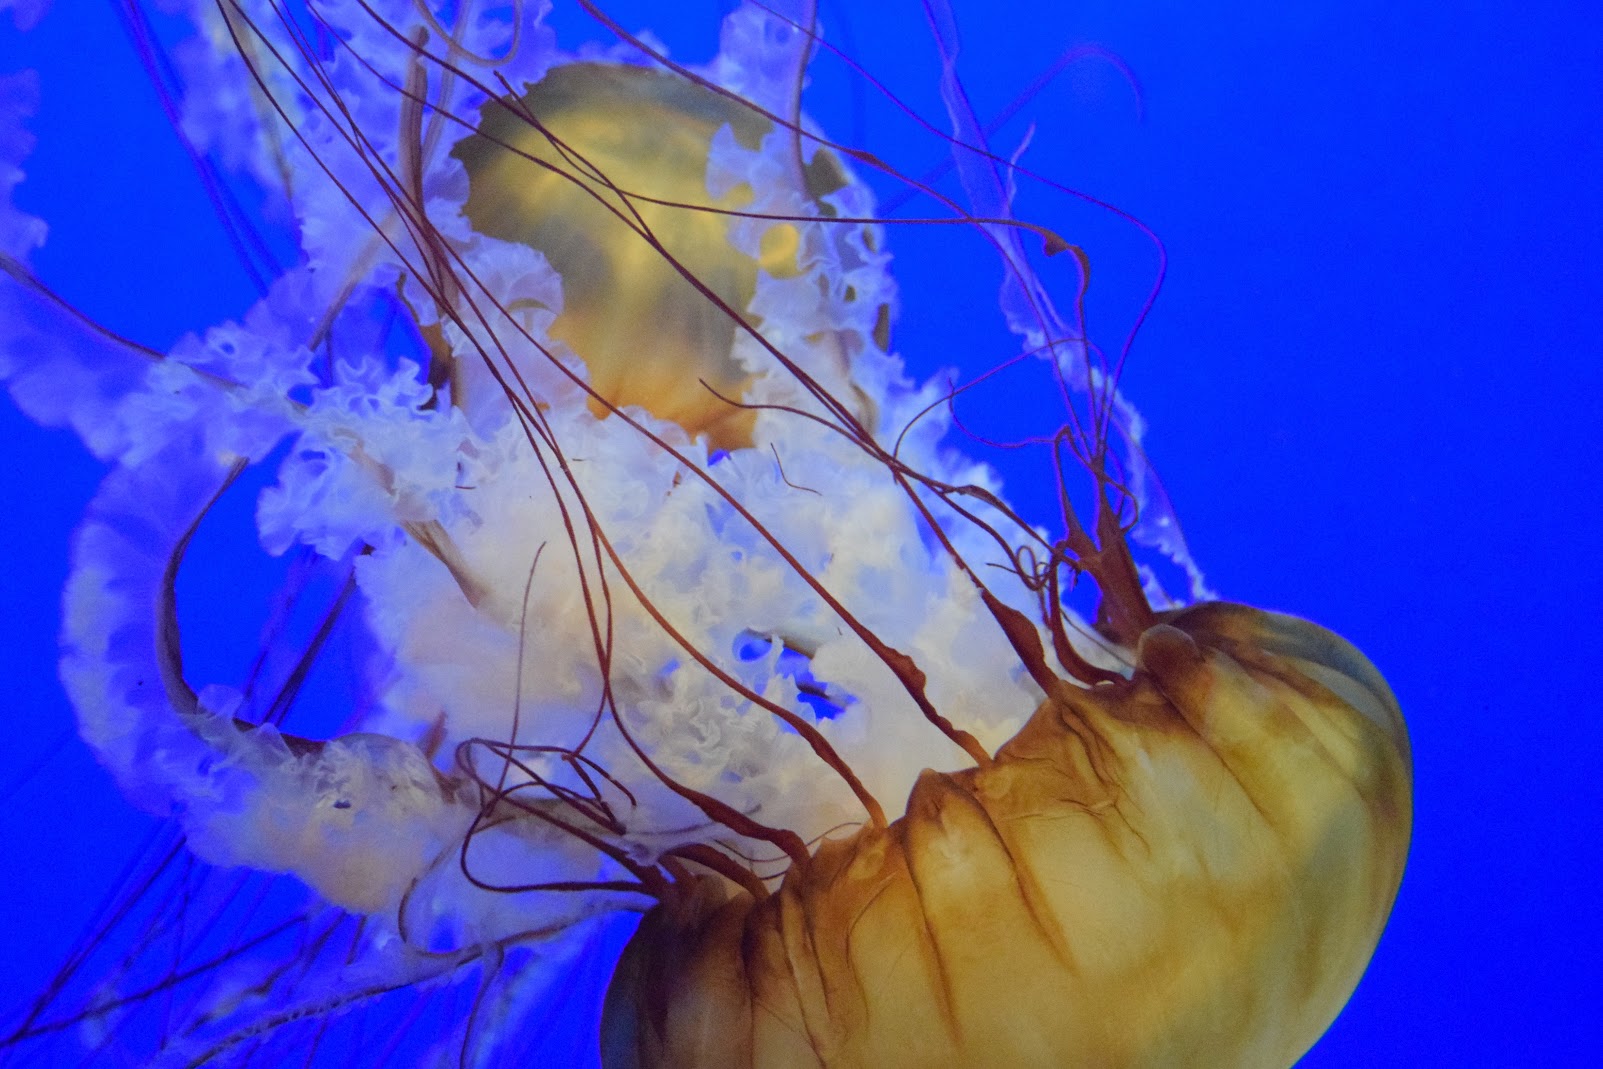
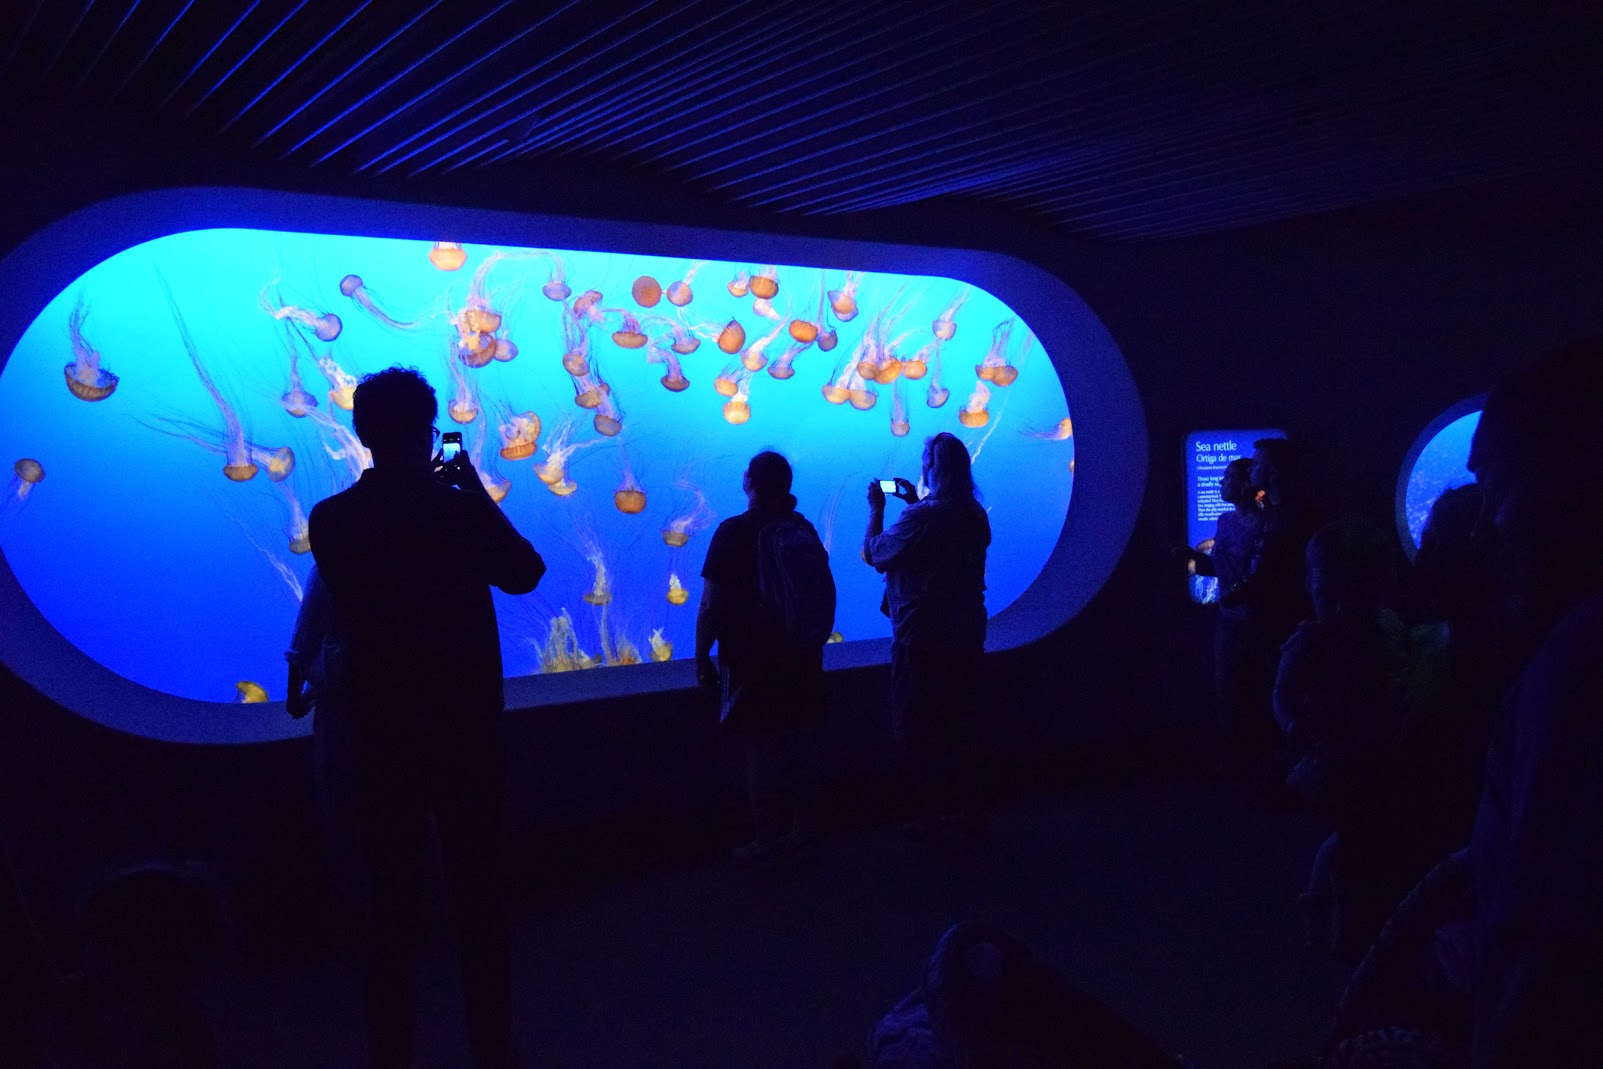
And, of course, we took lots of photos. Here are some:

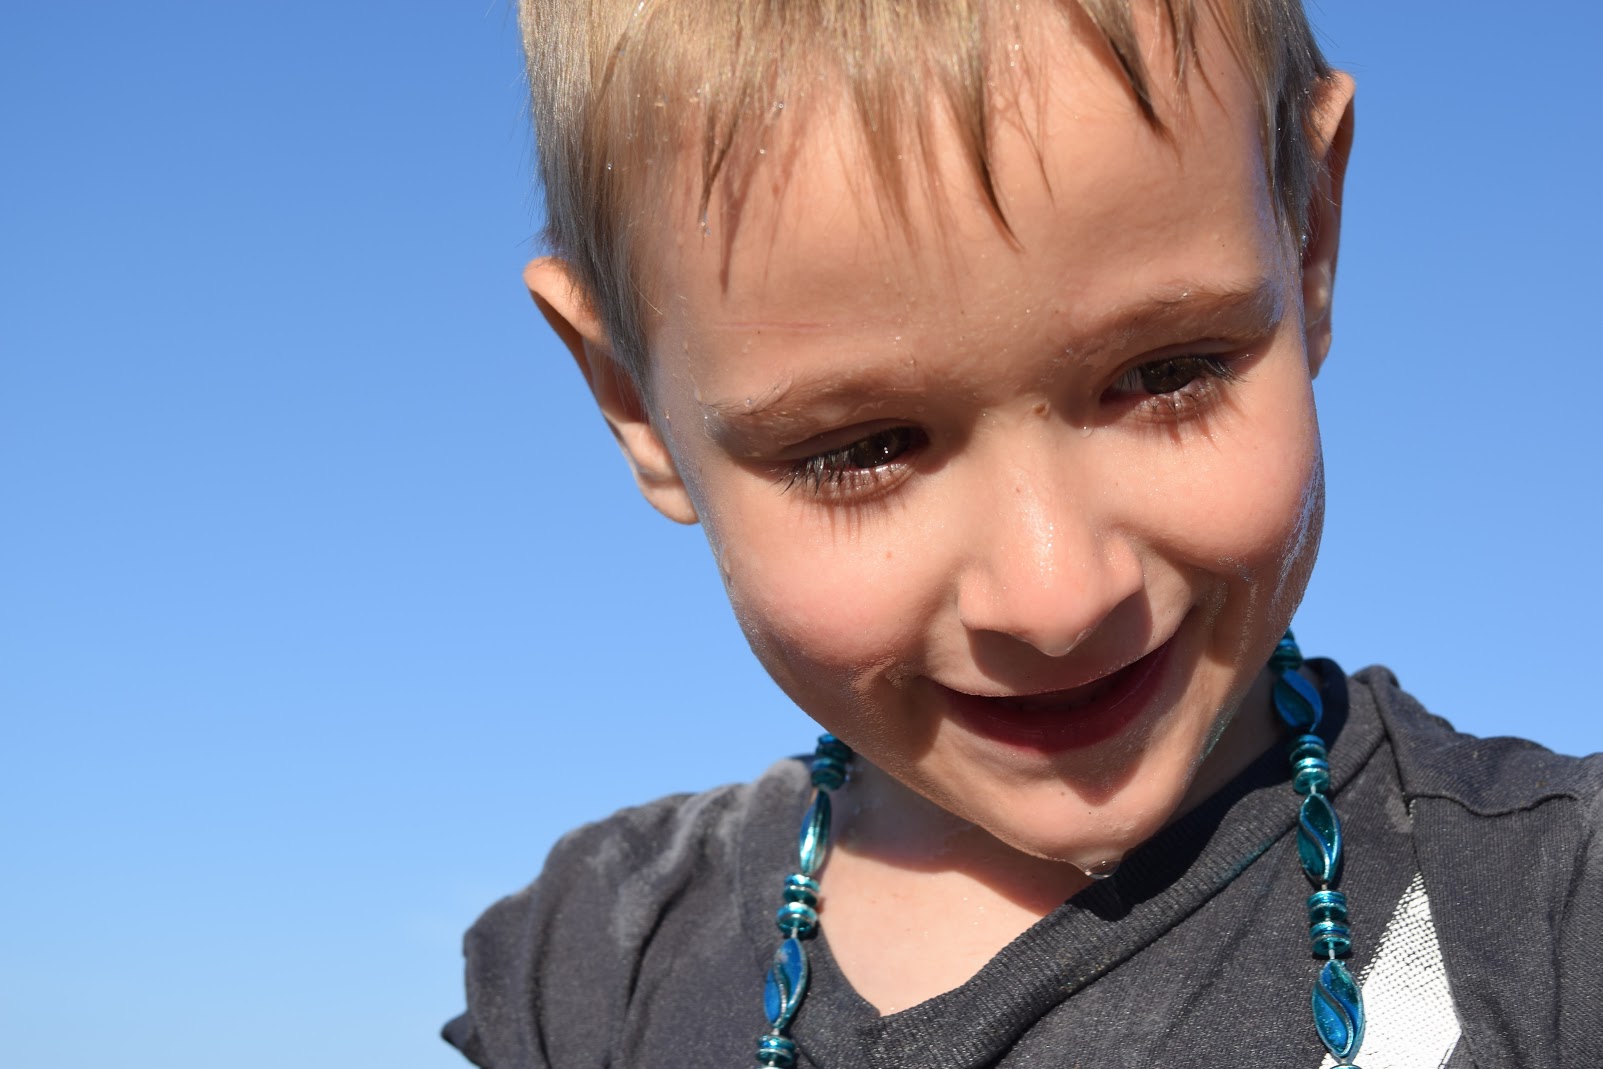
You can tell I am partial to jellyfish. And my kids.

Will this painting go with my color scheme?

Yes, yes it will.

In the last post, I mentioned doing a lot of work on my art business. I won't bore you with details but I finally realized how much sense it makes for me to work with interior designers and decorators. I am an architectural designer. My art makes people feel happy in their homes (as opposed to provocative or politically charged art). My pillows are selling like hotcakes. I've also had success with other home decor products, like shower curtains and rugs. It just makes sense.

So, with this in mind, I decided to create a series of color schemes based on my paintings. I'm partial to coastal/beach cottage styles, hence my choice of the painting! :)

P.S. Have you seen the amaaaazing interiors in Grace and Frankie? That beach house is a dream!

Hang out with your fears

I've been working on my art business a lot lately. Well, as much of a lot as my full-time parenting gig allows me to. There are so many things I am excited about. There is a grand vision for the future. And I want to get there fast, like, right now!

Sketch of my son in his new red wagon.

And it's not going to happen. It will, but definitely not so very fast.

It's been five years since I began, at an empty and sweltering hot middle-of-nowhere swap meet, approaching my art practice as a business. It seems like such a long time and I feel that I should have been so much farther by now.

Yes, I have all kinds of excuses, but they don't help when I'm on my own and comparing myself with someone who, within the same time frame, is three steps ahead of me. They are getting featured everywhere and showing at the gallery I want to be in, while I'm changing diapers and cleaning up messes. It's very frustrating.

I know what you're thinking. Comparing yourself to others is pointless and only makes you feel worse. True. It's just, sometimes, you can't help it.

On the flip side of this, I am completely humbled by all the people (often older, with more life experience) who look up to me. Just yesterday, someone called me 'a real pro.' Who, me?

I guess maybe I am :)

I'm so pro that I can even draw stick figures. This one, for example, is from a book on anxiety I illustrated earlier this year:

Hang out with your fears.

I like this one. It makes me think about my fears (of failure, of missing out, of being a fraud, of not being a good enough mom and wife, of wasting my life) as little fuzzy monsters I can learn to live with.

Ed, Monet and Ira Glass

Recently, a quote really resonated with me:

‘Claude Monet was nearing the height of the reputation he was to win during his lifetime, producing those water lily masterpieces, when he wrote this letter (in 1912) to his dealer and benefactor, Paul Durand-Ruel: “More than ever today, I realize how artificial is the undeserved fame I have won. I keep hoping to do better...” His latest exhibition was about to open in Paris. “I know beforehand that you’ll say my pictures are perfect. I know that when they are shown they will be much admired, but I don’t care because I know they are bad. I’m certain of it.”
— "Watercolor Bold and Free" by L.Goldsmith

The quote was so good I wrote it down in my sketchbook. The cool dude is my baby brother Ed :)

Monet thought his paintings were bad. Monet doubted himself not any less than I do. If you ask me, that's a good thing to know!

But is it a good thing? Talking about your paintings as being 'bad' is bad marketing. Humility doesn't sell very well. If an artist thinks his paintings are bad, what collector will buy them?

And yet we creative souls are particularly sensitive to our own critical voice. Through the nature of our work, we get to deal with it more than most other people. What makes a difference is how we deal with it:

  1. Denial of the inner critic. I don't know if it's just me, but I get suspicious when I see an artist without any self-doubt. It seems fake when an artist believes he is a genius and his work is worth millions. It's almost like a performance...nay, that's probably what it is. And who knows what happens behind the scenes. Is it a genuine victory over the critic or is it a show you put on?
  2. Giving up. This is the option that goes well with depression and insecurity. You pour your heart into your creative work, put it out there, and the viewer/listener/reader doesn't care. They don't buy your painting. 'Of course they don't,' chimes in your inner critic, 'It's bad and you are worthless.' It's incredibly hard to pick yourself up again and pour your heart out again. So you give up.
  3. Accepting it and being motivated by it. You talk to your critic. 'No, my latest piece is not the best thing ever. I made a mistake here. I need to develop this idea more. I can be so much better.' And you know you have it in you to be better, you can see your work five years in the future. You know it will be hard and you will make more 'bad' art but you will get there.

You are in the 'Gap.'

Are you going to California State Fair?

...to the tune of "Scarborough Fair," of course! I am going, and I will be painting live as part of the Plein Air at the Fair competition. I thought, "Why not?" I like getting outside and painting or sketching, and there's going to be a ton of subject matter at the fair, and it only costs me $10 to enter a painting (I signed up for three), so why not?

I plan on being there on July 18 and 19, around 11 am - 6pm. Maybe later. If you're around and you want to come say hi, let me know ASAP.

This is going to be fun :)

Me painting at the San Bernardino county fair

Tallinn (Estonia) - June Virtual Paintout

Happy Independence Day, comrades :) Hope you are having a fabulous weekend. Mine is going fine so far. I am finally experiencing a cautious return of art-making mojo, which I welcome with open arms. Making art makes me happy.

I haven't done a Virtual Paintout since last January, so this is extra special!

Tallinn. 15x22" Watercolor and walnut ink on hot press paper. Click on the image to buy.

Tallinn. 15x22" Watercolor and walnut ink on hot press paper. Click on the image to buy.

The process in this one is a bit backward: I started with a loose watercolor wash...

...and only after it was dry, added the drawing in walnut ink.

In case you are wondering, there was no pencil drawing. True, it's a risky business jumping straight into ink but it also has some advantages:

  • it keeps you a little looser, which makes your lines more fun

Ummm....that's all I can come up with :) My head is running slower than usual right now, what with fireworks well into the night, kids awake on and off, and me finally getting up at 6 am. I don't think I've had a reliable night of sleep since I was pregnant with kid #1. That makes it six years!

I received several questions about this painting, after posting it on my social media (are we connected? Check the icons under my beautiful face on the top right if you're reading this on my website). I will answer what I remember here.

1. Why walnut ink?

I like it for several reasons. The color is one, it looks less harsh than black India ink. I also really like the consistency and flow - it is very...liquid. What I mean is it seems like this ink will not clog the tiniest of the nibs. It's like colored water. And it's not waterproof when dry, it is very responsive to water. This can be a negative but I find it fun. Compare the figures in the image above with the finished painting. All it took is a bit of water-splashing.

2. Where can I get some?

Tom Norton Walnut Ink

Check your art store. I bought my first bottle from Daniel Smith (online) and the one I use now (Tom Norton), at a Utrecht (now Blick) here in Sacramento.

3. What is that thing you used to apply ink?

That thing is a bamboo quill (aka reed pen). It produces a somewhat uneven line and I do have less control but I'm okay with it :) . I picked mine up, on a whim, at the Utrecht store. Yasutomo makes a variety of sizes and there are endless other options, including making one yourself! I'm considering investing in a couple of these  >


Back to the sketching board

Sketchbooks are essential. There is no way around it. Sketching is like exercise, like meditation, like meditative exercise. Sketching is like yoga.

Pen sketch - part of our backyard. This pile of firewood was calling my name!

This may be why I sketch the same way I exercise...In cycles. Ideally, both would be a daily habit but instead, I do it for a while, burn out, lay low for a while, pick it up again. Every time I start again, it feels great and I wonder why I haven't been doing it. So, right now, I'm in the feeling-great stage of sketching. My illustrations gigs slowed down and I'm not looking to add new ones. The move and remodeling is mostly done. I can breathe a little bit. And sketching...sketching makes me breathe way slow. Nice, relaxed, yoga breaths. Inhale-2-3-4, exhale-2-3-4-5-6. Good.

I want more of it.

I recently read (more or less) three books that push for a daily art practice: The Artist's Way by Julia Cameron, Daily Painting by Carol Marine, and Art Before Breakfast by Danny Gregory. All of them deserve a separate review but none offered me a concrete solution. Sure, I'd like to have 30 minutes of brain-dump writing first thing in the morning, and I love the idea of meditative sketching first thing in the morning...but mornings aren't working for me. I liked doing daily paintings for a month. I will probably try it again in September, after Elijah goes back to school and I figure out a way to coordinate everyone's schedules so that mine includes some reliable art-making hours. For now, I'm just surviving summer and take every sketching opportunity I can find.


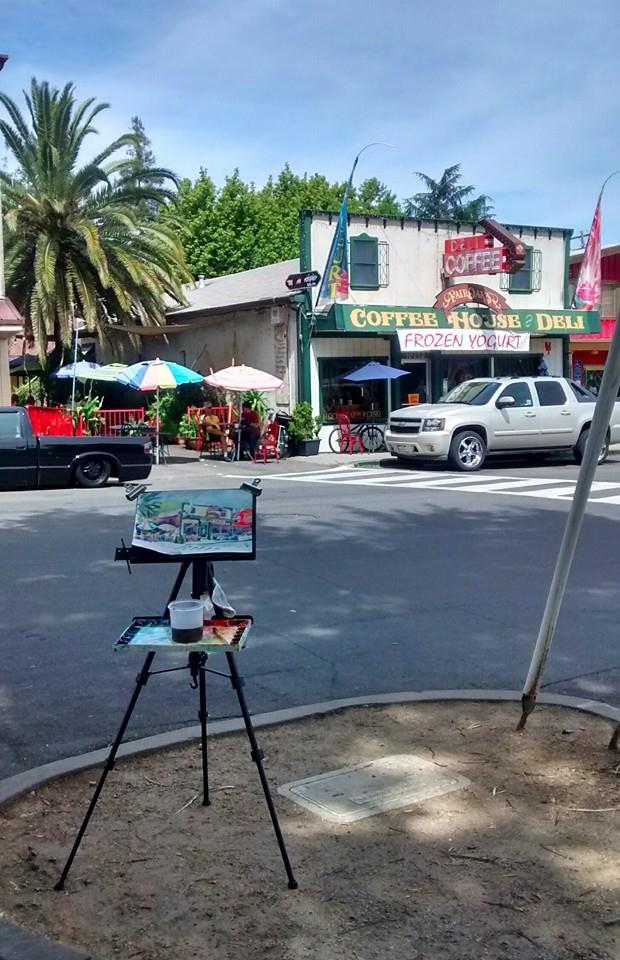
Plein air in old town Fair Oaks

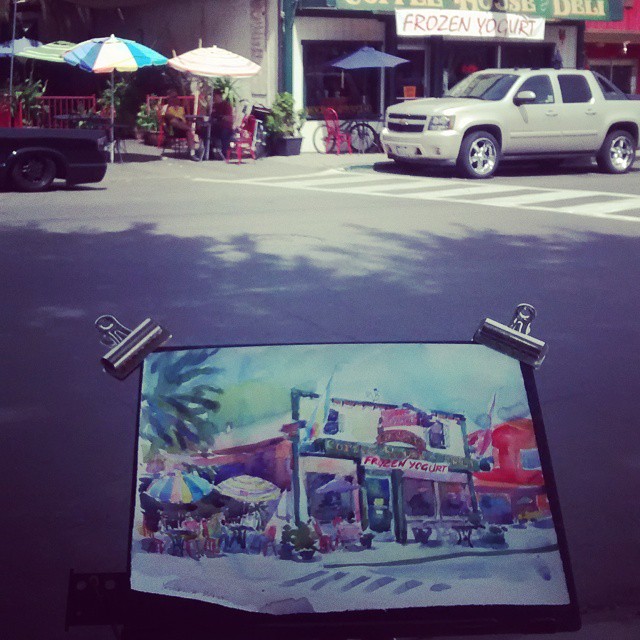
It finally happened. It fiiiiinally happened...I went out to paint. I spent some quality time with my painting tools and myself. It was nice. I forgot how nice it can be to stand for hours in the same spot, in solitude (not counting the curious passersby here). To slow down and breathe. To really look.

11 x 15" watercolor on hot press paper. Click on the picture to buy.

11 x 15" watercolor on hot press paper. Click on the picture to buy.

Sometimes, I paint fast. I become hyper-alert and decisive and just slap it on. But this time, I was in the mood for some observation and for slow pen lines. I felt refreshed, even though I got very little sleep the night before. In short, I want more!

Maybe I will do the Plein Air at the (California State) Fair this year, now that I'm in Sacramento and all. I did one at the county fair a couple of years ago and it was fun (albeit not very competitive). I even got a first place ribbon and a symbolic monetary award, which almost covered my entry and parking fees.

San Bernardino county fair. Watercolor on paper, not available.

New studio

The dust from the move and remodel is settling, and so are we. My studio is now taking up a corner in the garage and is unpleasantly hot a lot of the time. It does contain all my art stuff, though. As I was unpacking and arranging everything, I kept thinking that some enthusiastic beginning artist would love to be at my post-mortem garage sale. Cheerful, I know :) . But I do have a lot of cool art stuff!

This morning, I am out for some sketching and painting in the old part of Fair Oaks, CA. I haven't done plein air in forever! Will post about it soon if it ends up looking like anything blogable.

What's up?

So it's been a while. At least, if you read my blog regularly, you aren't too tired of seeing me in your inbox :) . I'd like to think I am slowly coming out of the 'fallow' state I've been in (a nod here to the amazing Margaret Atwood). The Selfie class (see previous post) was good, though I felt caught off guard when it ended. I still haven't completed the 'final project' - an awesome 1-2 hour photoshoot with myself, which should result in some nice head shots and mysterious full body images. I do feel more prepared for it, though. Soon, I will do it.

One of the prompts from the class - use your tools/props!

Last week, I did a demo for the Sacramento Public Library's art program. It was good to share my knowledge and love for watercolor painting again. I miss teaching. There are local workshops and online classes that I have on the back burner but I haven't had the energy to get them going yet. Soon...soon.

Another thing I've been busy with is lots of freelancing. Architectural concept illustration for the most part, with some book illustration thrown in. Income-generating activities, in other words. This allowed me to keep my mind occupied and helped us finally become debt-free. Which we celebrated by buying a house, which is guaranteed debt for the next 30 years...But anyway, we have a house we will be moving into in two weeks! I will lose the home studio for a while but a plan to studio-ise part of the garage is in the works. And maybe a separate little shed of a studio outside down the road.

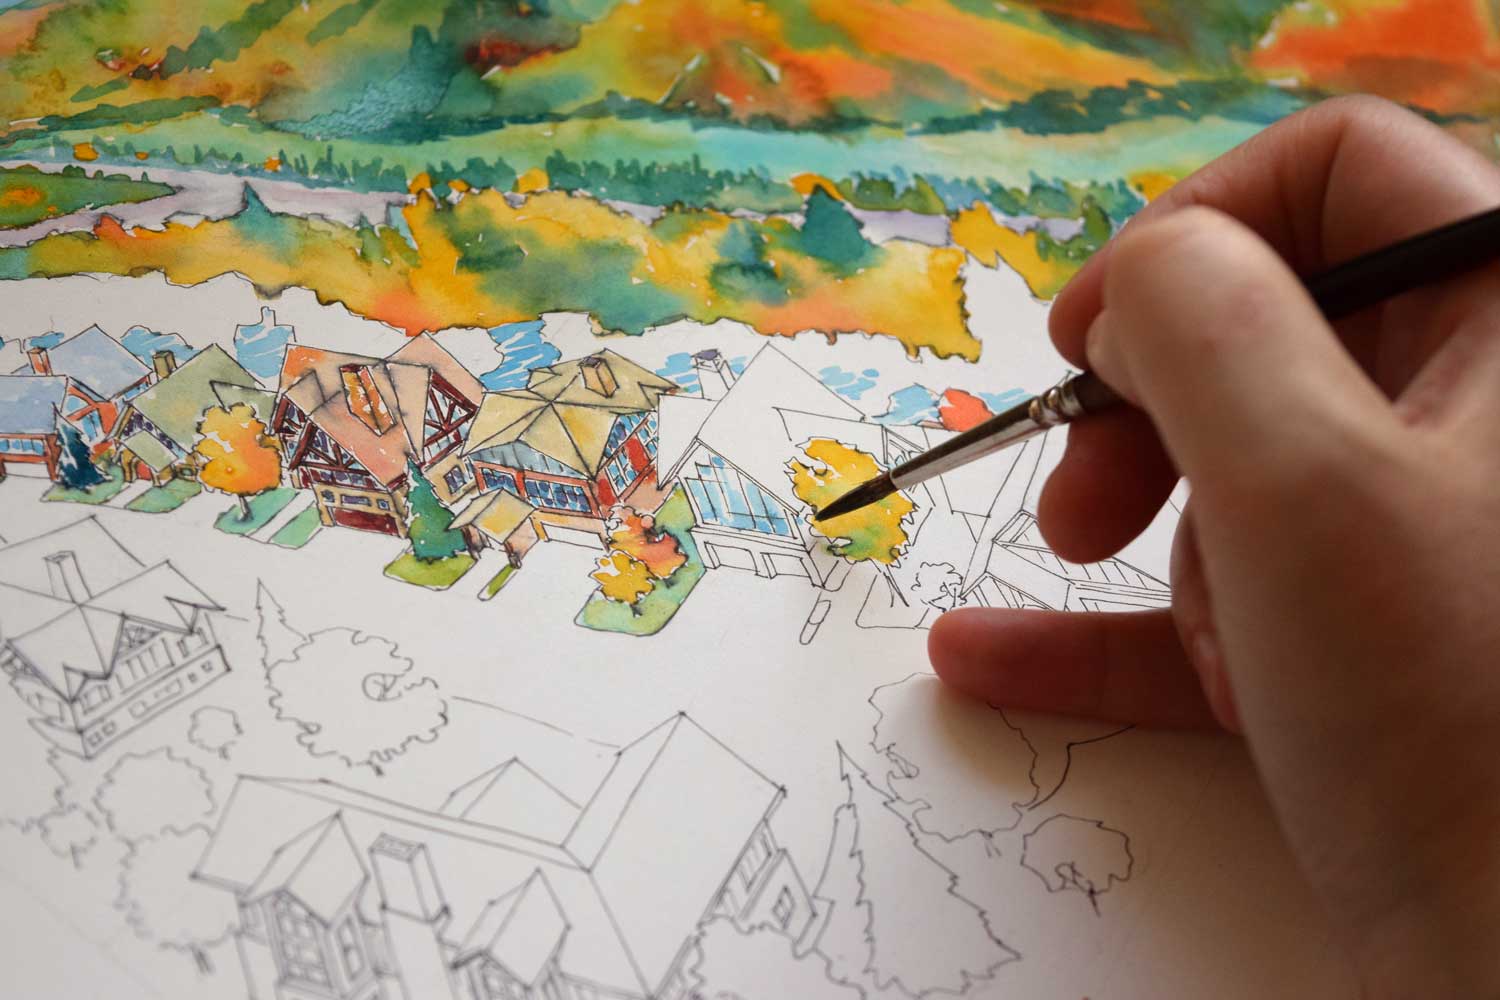
Working on an architectural illustration of a residential development in Colorado

Working on an architectural illustration of a residential development in Colorado

Meanwhile, my son is finishing Kindergarten, my middle daughter turned 3, and the baby is now 1.5. They all are beautiful and they make me happy. I'd say they are growing on me :)

The Selfie

Funny that I should now talk about selfies, as just in the last post, I included a selfie-painting and got all self-analyzing. And, like, stuff.

Sorry...couldn't help it. I still associate the word 'selfie,' even beatified by the Oxford English Dictionary, with less-than-clever teenage girls. Along with corresponding vocabulary.

Anyway, to business. And the business is that I am taking the "Rock A Selfie Photoshoot" class with Vivienne McMaster. There are several reasons I decided to do it now. I recently had a LASIK surgery and now don't wear glasses. So, my 4-year-old current head shot is definitely not very current.

The second reason has to do with the complete disorientation I experienced over the past year. It brought into focus the fact that I don't know myself very well or, what is more likely, that I lost the connection with myself a while ago. My values, my beliefs, my relationships, my goals in life, all became questionable and blurry. So, taking this class seemed like a way to pay a little more attention to myself, hopefully with some revelations, affirmations and good images as a bonus.

This was a me-on-my-path prompt, which turned out difficult for me. I've been feeling disoriented, sometimes suspended in mid-air not sure which way is up; sometimes definitely plummeting down; sometimes touching the ground for a second and then bouncing off again. So an image of me walking down a path would not ring true.

I was surprised at the pure luck of catching my feet so high in the air. Ideally, of course, they would be in focus...And the bottom right is where I would like to be. Feet firm on the ground, safe, confident. Ready to go.

And there is yet another reason. Reference photos for a semi-secret series of paintings I have been plotting for several months. I considered hiring a model for these but maybe someone like me will do :)

How to Make Mistakes

Yes, I did mean 'make,' not 'fix' mistakes. This post may turn out somewhat philosophical and maybe a little bit self-help-y but it has direct relevance to making art.

I had something of a revelation last night, as I was attempting to fix a 'drip' on a commissioned portrait. The 'drip' happened when I decided the painting was a stinker and I had nothing to lose by going wild all over it. Well, the collector loved that stinker except for some minor adjustments. Like the huge drips and splashes.

Usually, I try to do all I can to make my collector happy. They will be the ones living with the painting, so I want to make sure they love it. As I was scrubbing and dabbing, though, I thought that these drips and splashes and blooms...they are my style.

I realized that I allow these 'mistakes' in my art on purpose. I have a very accepting attitude that I developed some time ago and didn't grasp its significance until last night. The drips and blooms, considered mistakes in someone else's books, are part of my artistic self. I let the errant ink lines be. I rarely erase anything. It's like a record of my...growth? My self-discovery? There is something intimate in being able to see the way an artist begins their work, hits bulls-eye on something, completely misses something else, and keeps trying. If you see the mistakes, you see the process...you see the work, not just the perfectly finished result.

Another effect of allowing mistakes is that you develop confidence. This is one reason I advise my students to sketch in pen, not pencil. You can erase pencil, and you will likely keep doing it over and over again. You will keep trying to get it perfect. If you make a mistake with pen, you have two choices: live with it, accept it and leave it in your drawing; or abandon that drawing and start over. You have to make a decision, and I think that with time, you will learn to be on good terms with your mistakes. You will allow yourself to not be perfect and be fine with it.

It is what makes watercolor an 'unforgivable' medium. In most cases, the more you try to 'fix your mistakes' in your painting, the worse it gets. The less you fiddle, the better.

Make your mistakes. They are beautiful.


Thank You for Being You!

Thank You!

(Just me being sentimental)


Seriously, thanks for being one of the people who are there for me, cheering me on and believing that I will make it big time :)
You keep me going.

As a small token of appreciation, here's a free shipping code for anything you want on my website: JUST4YOU (enter at checkout, ends 12/03).

That's all for now.

Yevgenia

How do you paint with kids at home?

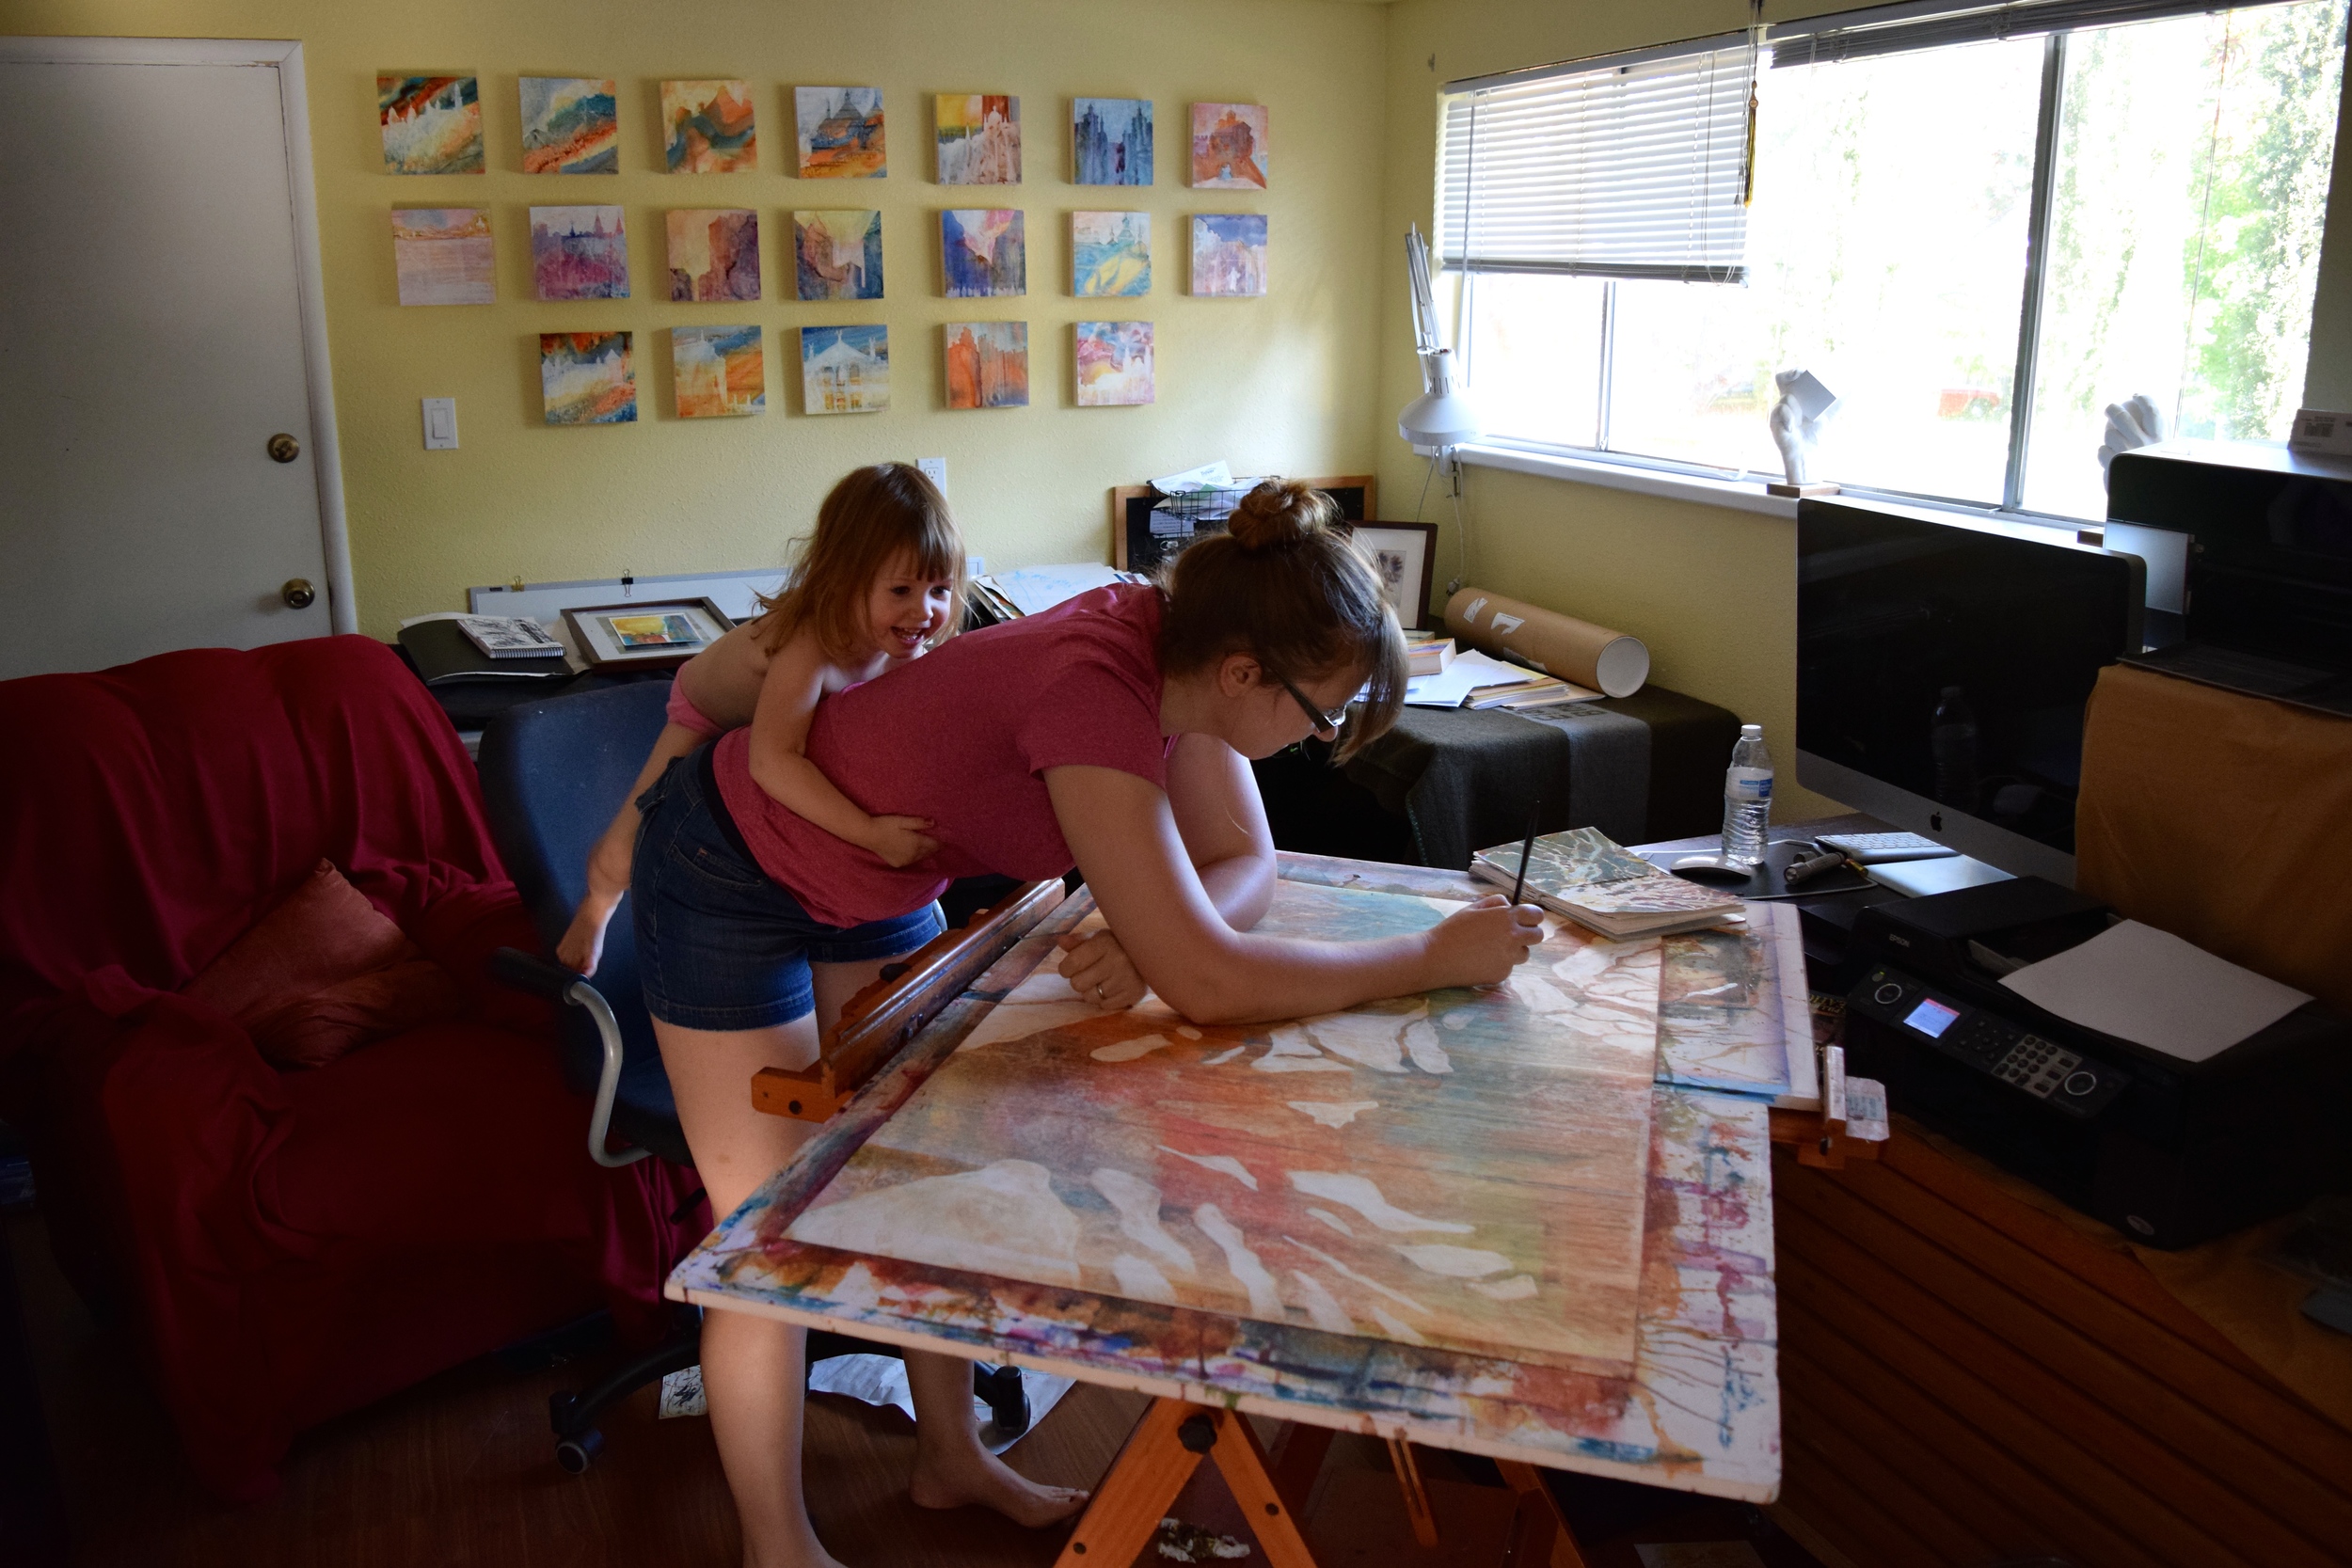
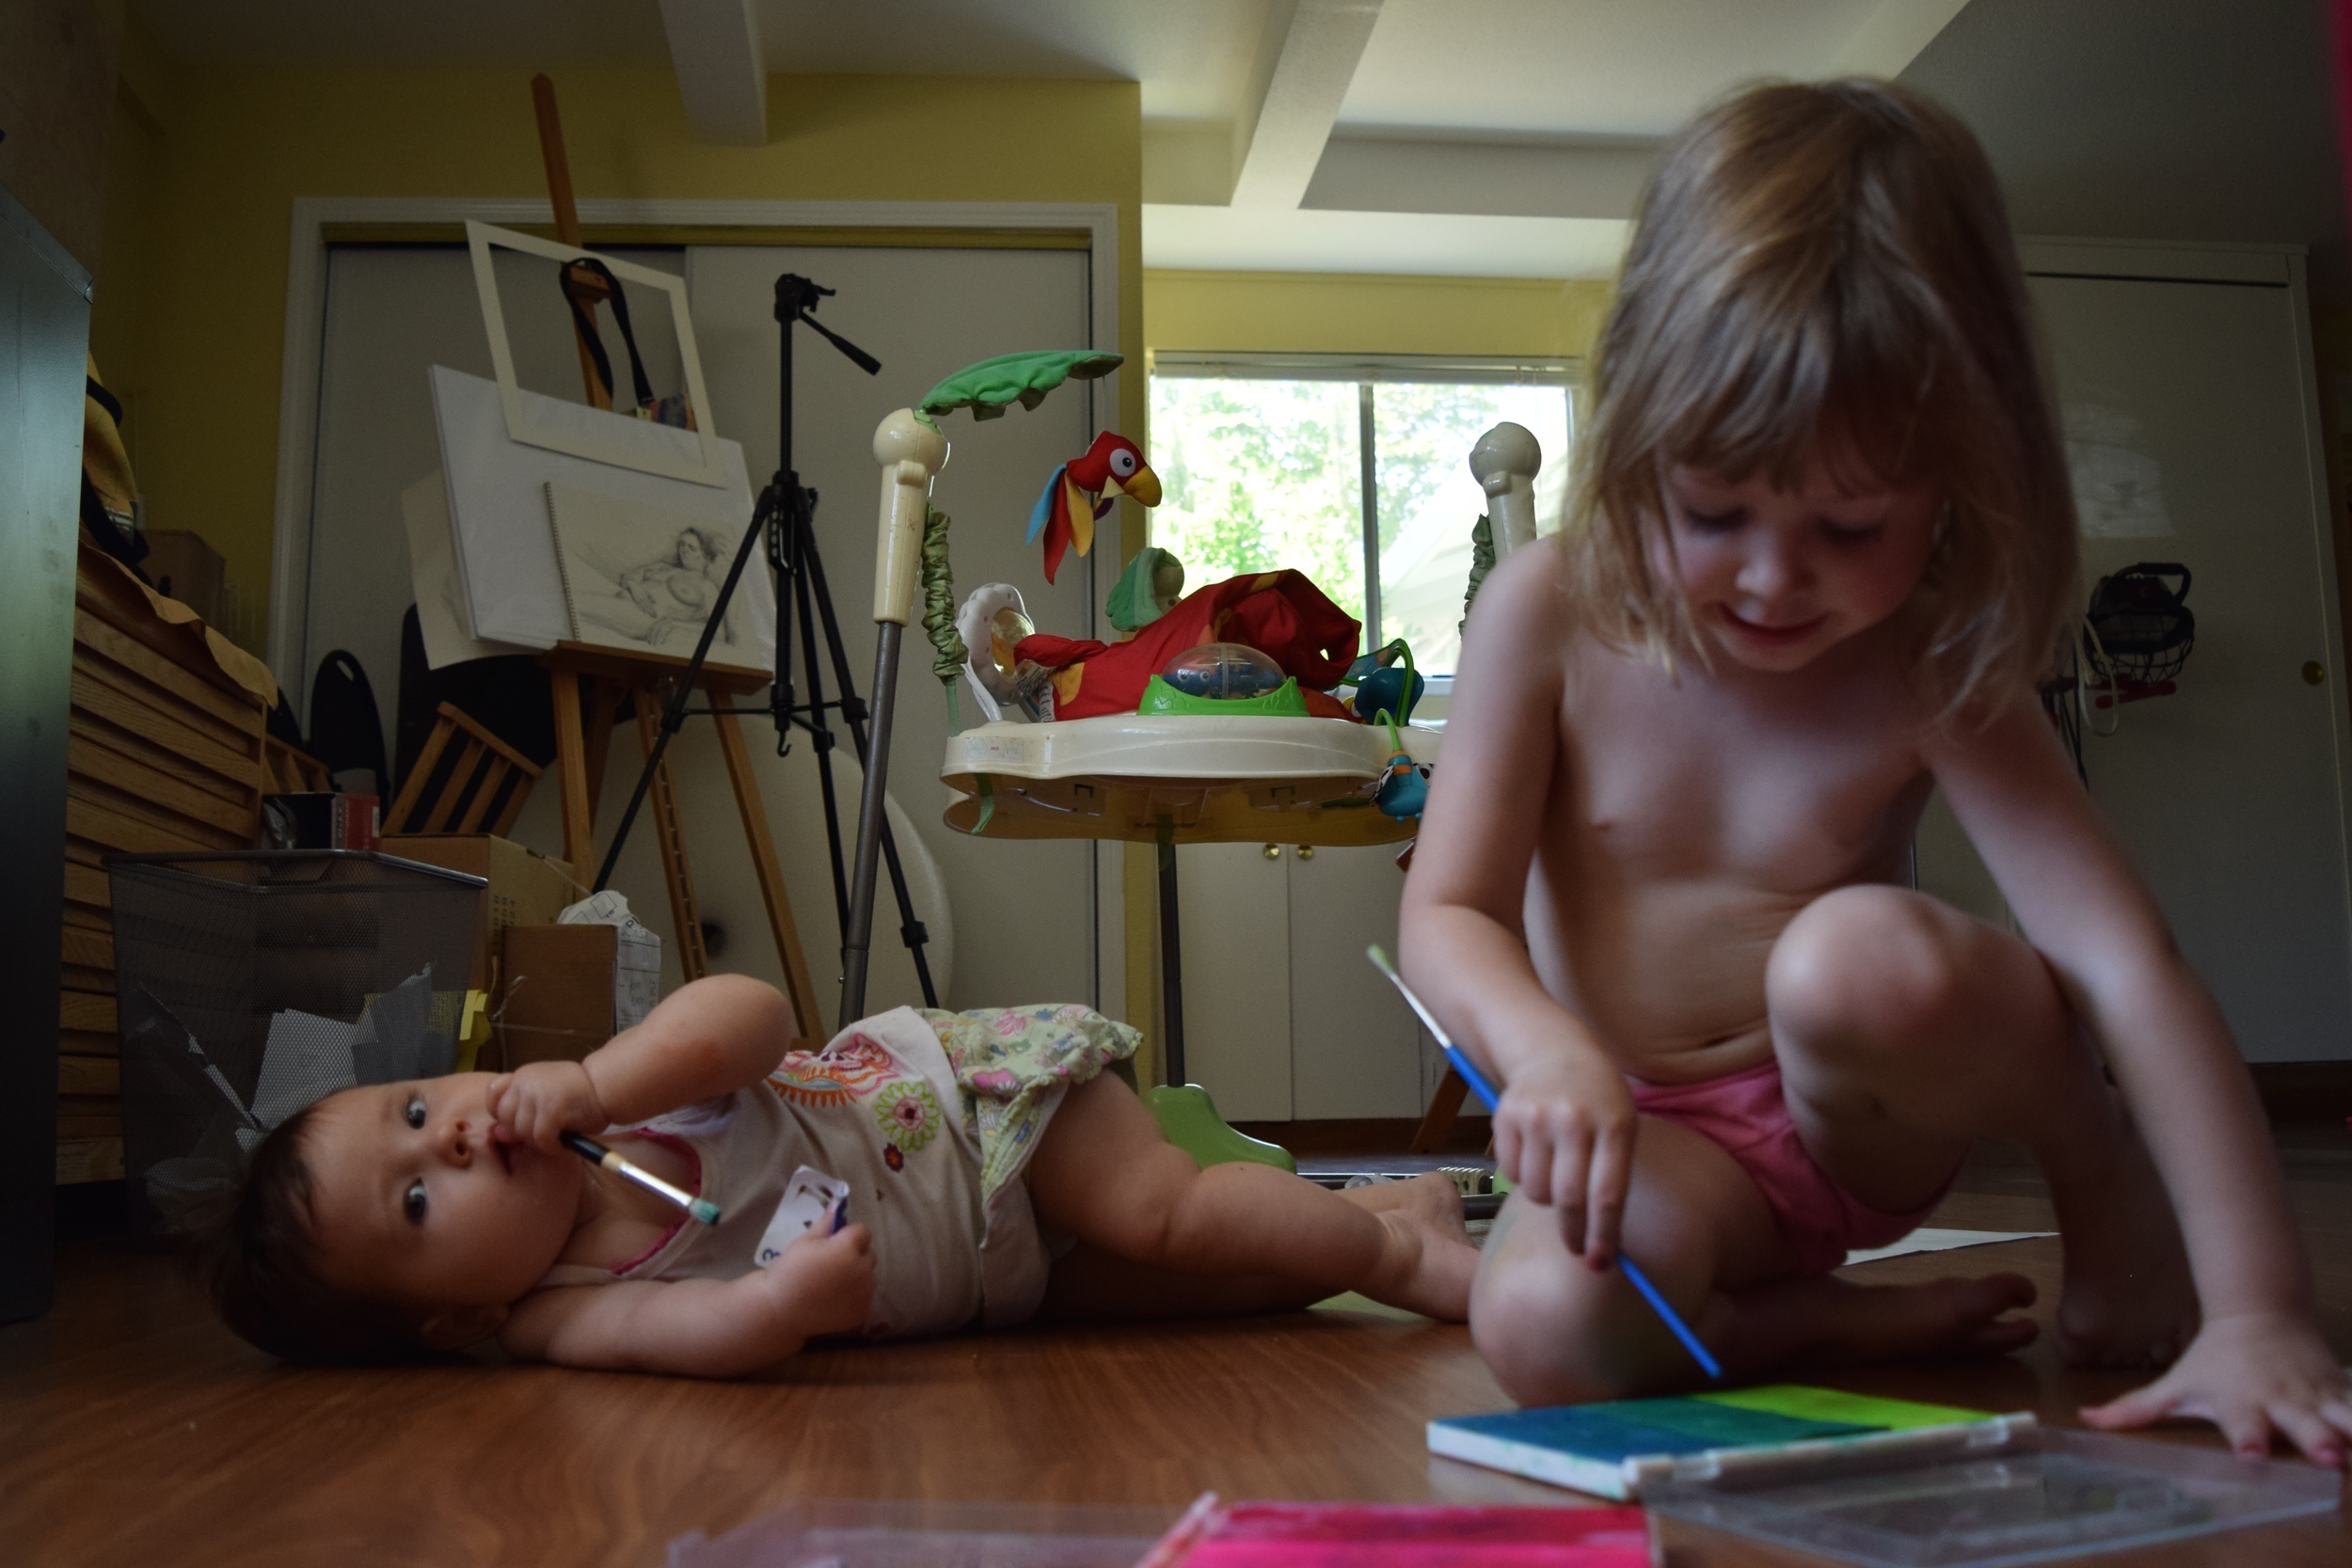
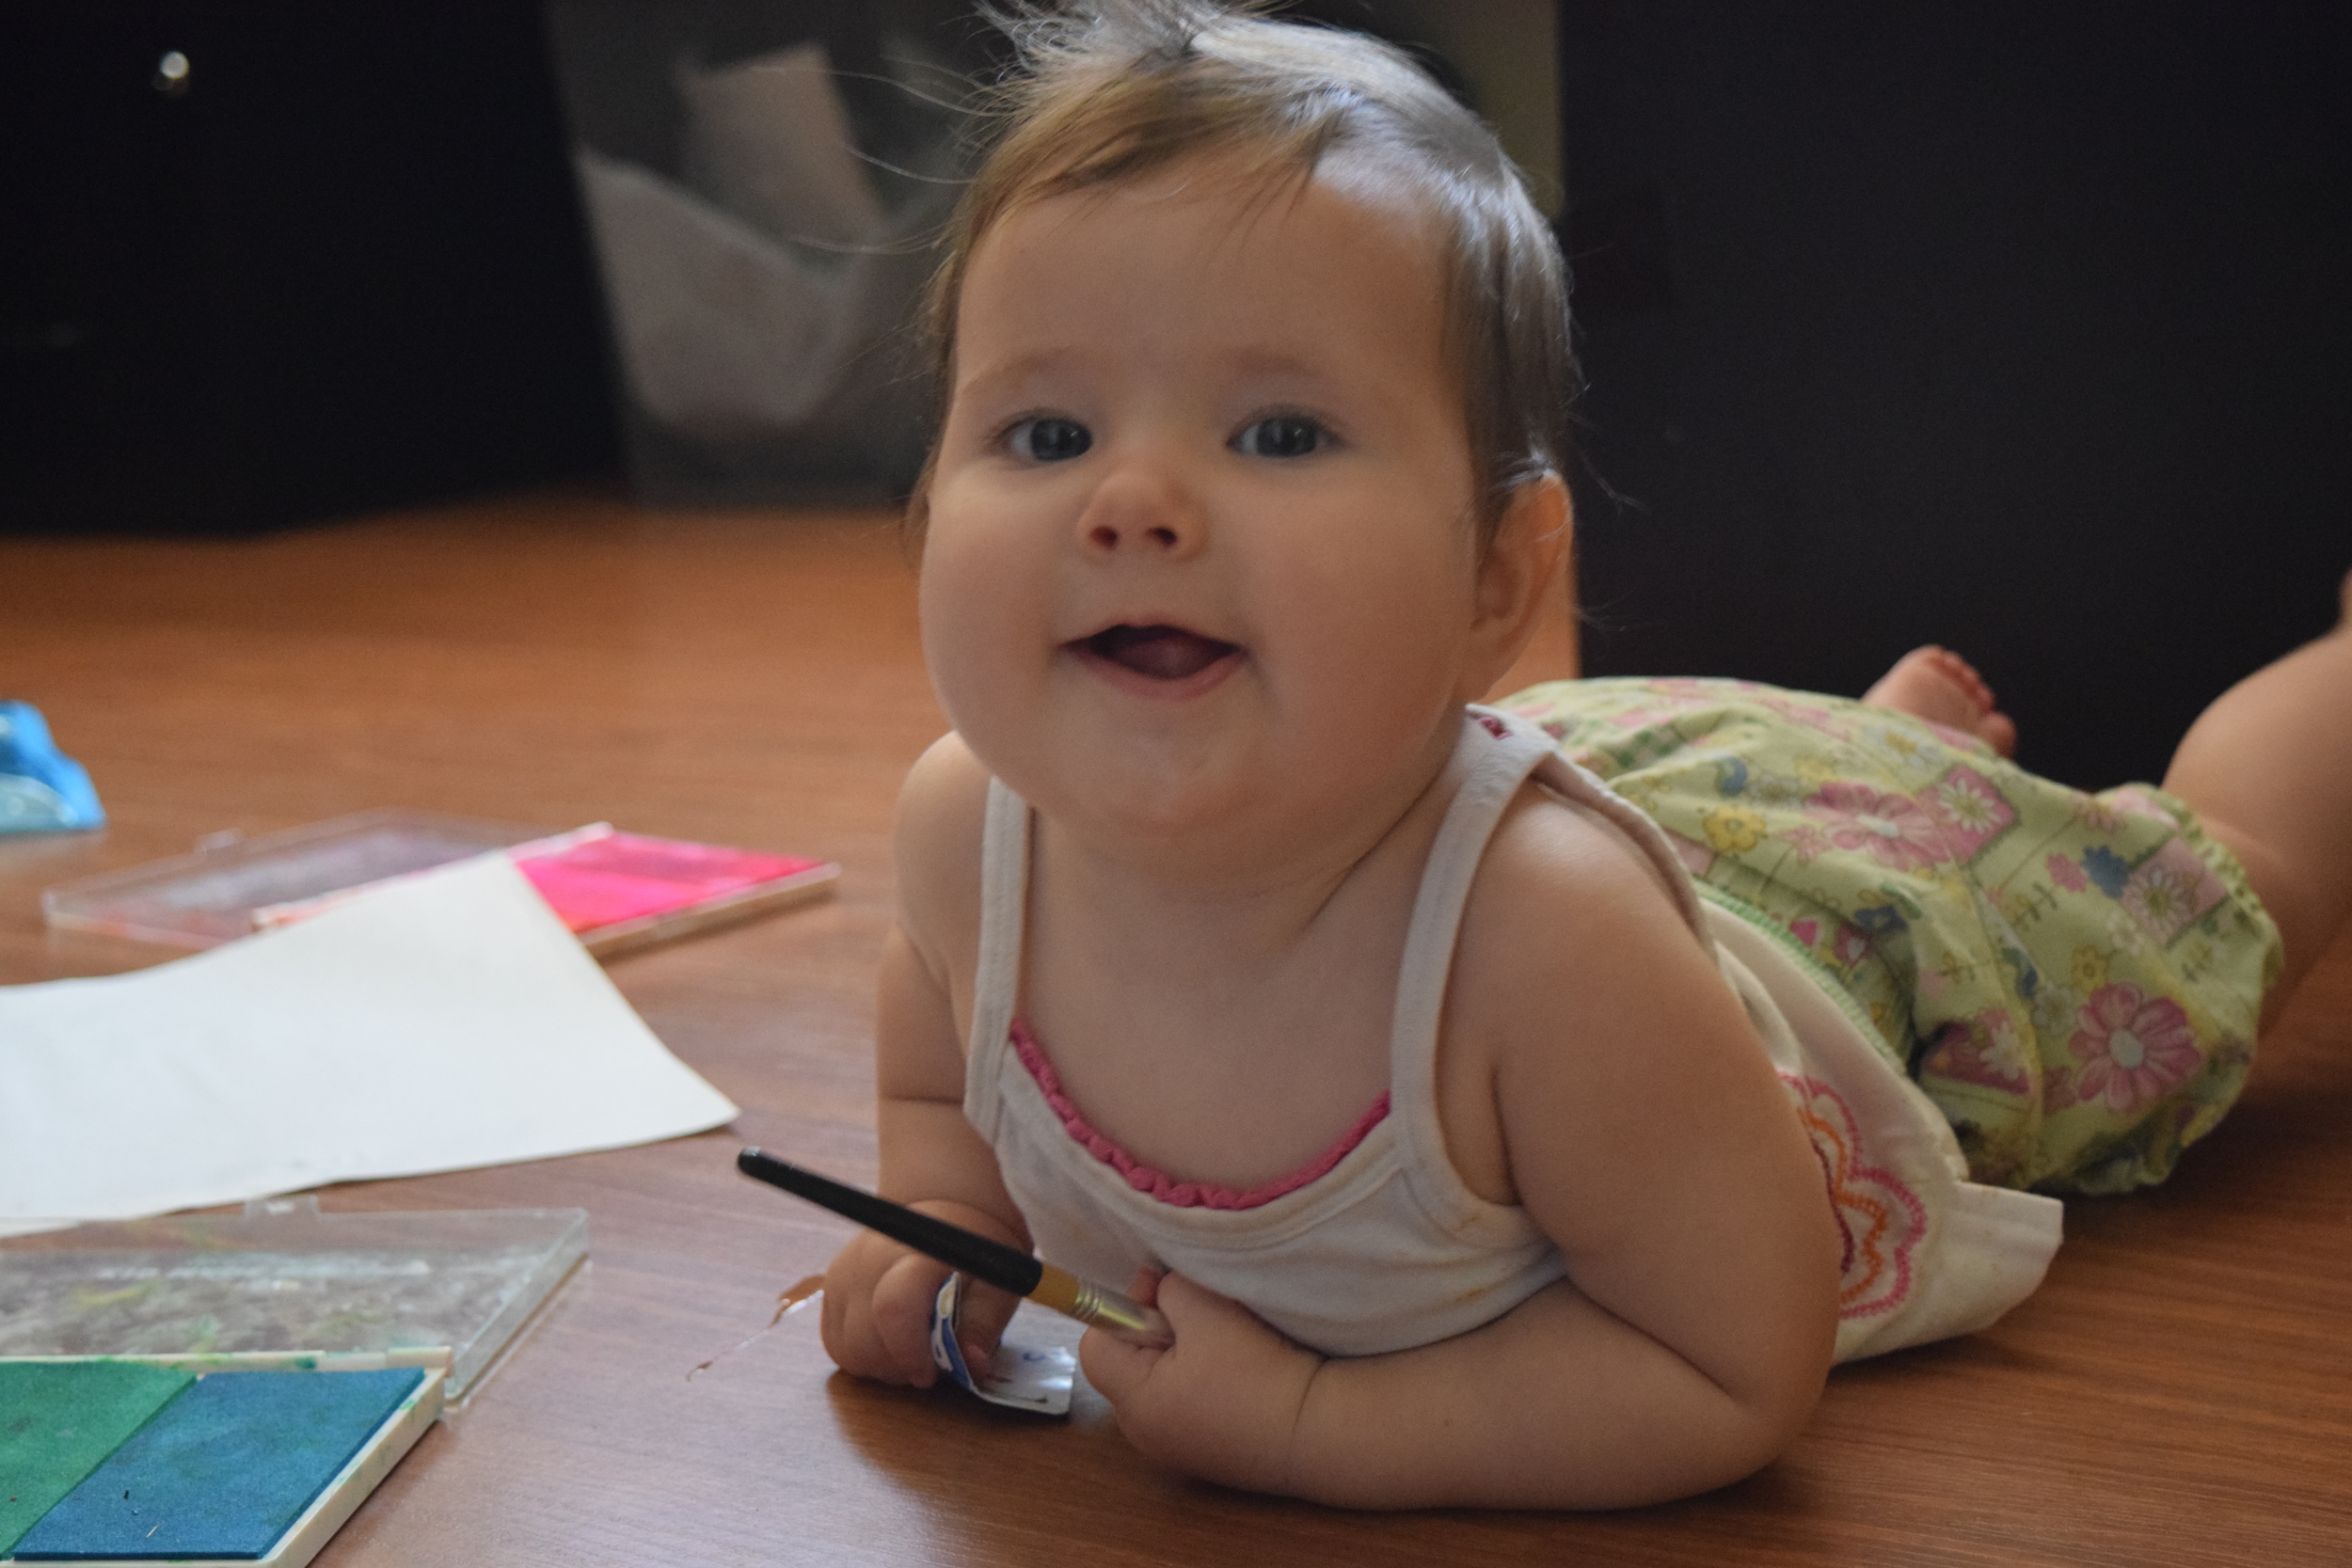
People (usually other moms) often ask me the same question: 'How do you manage to paint while taking care of three little ones?' The truth is, I don't know...I think it has a lot to do with priorities and letting go of some things that are not as important to me as making art. It's a bit like finding the time for exercise once you make up your mind that it's necessary for your health. Painting is necessary for my mental health :).

There are, of course, the crazy days when I cannot get a single minute to go and recharge at the studio. When I'm running on empty batteries. I'm not going to lie, those days are bad and I feel like giving up on trying to have an art career until my kids are at least in school.

But the good days are good. Both of the napping-age babies sleep at the same time and my almost-kindergartener succeeds in not talking to me for as long as 15 minutes at a time. It helps to have everything ready to go before the opportunity arrives. I do the chores when everyone is awake and active and I usually have a list of projects I can work on for the quiet time. On the best days, I actually stay focused enough to set everything up for painting in the morning and go do it the minute everyone is quiet and happy.

Then, of course, there is the issue of being tired and wanting to take a nap whenever possible. Yeah. Teething babies, sick toddlers, compulsion to stay up late for the "me time" and "adult time" will make you tired the next day. And I know that I'm not very effective at doing anything, including painting, when I am tired. So...back to priorities. Sleep is important.

Some artists with families paint in the middle of it. They work in the dining room while life is happening around them. It doesn't usually work that way for me (other than, maybe, casual sketching). I have to be in the zone. Completely disconnected, fully absorbed and focused. I get crabby if interrupted...So, sometimes, I tune the "life" out and wear headphones, listening to a podcast or music that suits my mood. Typically, though, this happens when my husband is at home so I feel that I have another parent to address situations and nobody gets ignored completely.

Speaking of the other parent - my husband is very supportive of my efforts at developing an art career. This is a huge help. Sure, he still wants me to get a "real job" sometimes, but most of the time, he makes it a little easier for me to keep at it. So does having a support network of friends, fans, and collectors who appreciate my art and cheer for my successes, big and small.

And this is how I do it, paint with kids at home. It's not easy but it's possible. I think the most important thing I am still learning to do is give up control. Accept that there will be many days when I will have to give my family 100% of my time. Accept that my home will never be perfect and sparkling (hmmm...this one may have little to do with me painting...;)). Accept that it will be a while before i can do art full time. Take it a day at a time and celebrate the little things.


Accordion Player - A Portrait A Day Revisited

Paintings of musicians are a popular theme that I have only touched the surface of. One of my artist friends, Nicola Lautre from Australia, paints them all the time and is amazing at it :) Do check her website out!

I started the painting below during my A Portrait A Day project a couple of years ago. It was inspired by an accordion player I had the pleasure to listen to and observe during a Sacramento Second Saturday Art Walk. See what this painting looked like in the beginning here.

"Steve" - 16x20" Watercolor on Arches watercolor board. Sold.

The story of this painting got interesting when the same accordion player found the painting online and wrote me an email. We have since kept in contact, I finished the painting and Steve and his wife bought it, and I've enjoyed his music many more times.

I also set up a gallery of my A Portrait A Day paintings that you can visit here.

Do you let your watercolor paint dry on the palette?

Or do you use fresh paint every time? Someone asked me that on my Facebook page and I thought it warranted a blog post :) . In general, I like to have freshly squeezed paint, especially for direct painting (as opposed to glazing, also known as working in layers). But it is not always practical to use fresh paint for every single painting session. So I compromise. I keep some paint in the palette wells but I don't fill them up completely (even though that usually makes the palette look better). I then add the colors I'm running out of before I paint. Or right in the middle of painting...that also happens.

So, why would you not want to just fill up the palette wells and not have to add more paint as often? Here are my reasons:

  • Fresh paint is just that, fresh. It is ready to go the second you squeeze it out of the tube. It is pure, brilliant pigment uncontaminated by the neighboring color or that sneaky phtalo blue that just likes to invade the whole palette.
  • Some watercolor paints tend to crumble when allowed to dry. It is possible to re-wet and reactivate them but they can become an annoyance when you have to deal with stray lumps of pigment right where you would want a nice uniform wash. Dropping some gum arabic into the pile of paint is supposed to help with that but I don't think it's worth the hassle.
  • Digging dry paint out of the well requires you to rub it with your brush to "break it up", which can be damaging to the delicate brush hairs (do not do it with your kolinsky sable brush). This is how round brushes lose their points. One way to go around it is to use a stiffer, cheaper, synthetic brush for just that purpose - to re-activate dry paint. Once you have a nice puddle going, you can pick the paint up with your painting brush and paint.
  • As I am moving towards larger work or working in series on several small paintings at the same time, I find it easier and faster to cover the surface with fresh paint rather than to try to pick up enough dried paint from the well. With Yupo, I often squeeze the paint directly onto the paper and then add water and mix it there.

Of course, there are some advantages to using dried-out paint:

  • It is probably a little bit more economical. 
  • I find that it suits better for plein air and for painting outside of my usual studio work. Fresh paint tends to run and leak in transport, while dried paint, even when re-activated, seems to be more stable and less messy. I usually refill my palette wells the night before I go. This also means you don't need to bring the tubes with you.
  • If you work small, you may not need a lot of pigment at a time. Picking it up from the dried pile in the well will give you more control than a freshly squeezed blob of paint.
  • Depending on how you use your paints, there may be not much difference at all between using it fresh or dry. Misting the dry paint with spray or mist bottle 15 minutes before you paint will soften the watercolors and make them ready to go.

Ultimately, it's what works for you. There is no right or wrong answer. How about you? Do you work with fresh paint exclusively or do you prefer to have a full palette of dried paint?

Simon - A Watercolor Child Portrait Step by Step

Some time last year, I had the pleasure of working on two custom portraits for Laura of http://tinyscissortimes.blogspot.com/. I painted her two sons, adding to her growing collection of family portraits created by different artists. It was fun! She let me choose from several reference photos and we worked together to arrive at paintings that made both of us happy. She is pretty much my perfect client :)

10 x 8" Watercolor on Arches cold press 140lb watercolor paper.

This is one of those portraits. Simon is the older kid and Laura wanted a painting based on one of her favorite photos of him as a toddler. I typically advise for the reference photos to have a strong light and shadow pattern, preferably in natural light and to avoid pictures taken with a flash or those with softer, diffused light, or back light. This just happened to be a backlit photo. If you are a beginning painter, it could make things difficult. The variation of values in the face becomes very subtle and you need a good understanding of facial structure to make it convincing. But it is doable and incidentally, two of my portraits I'm rather fond of have back light:

(Both of them also have step-by-step posts, here and here).

As always, I started with a thumbnail sketch:

I do this to get a general feel for the personality and mood of my subject and to give the client an idea of the end result. Sometimes I do more than one sketch, trying out different compositions, crops, colors, value schemes. Once the sketch is approved, I move on to the drawing:

You can barely see anything here because in portraits, I tend to keep the drawing minimal. I don't map out areas of light and shadows and prefer to that with paint. This drawing was made using grid method directly on the watercolor paper.

On to the next step, initial washes:

Very lightly, I mapped out main shadow areas, while leaving most highlights as the white of the paper. From now on, it's building up the layers with the general idea of keeping the color cooler in the shadows and warmer in the lights.

Some more form modeling here. Still keeping the highlights white.

Most of the time, my portrait palette consists of a yellow, a red, and a blue. Sometimes, there is an additional version of each color - a cool red (quinacridone red), a cool yellow (quinacridone gold), a warm yellow (indian or hansa yellow), and a warm blue (french ultramarine or cobalt). In this painting, I also had small areas of phtalo blue (cool blue).

Getting close to done. This image looks a bit pale compared to the previous one because of the different lighting when I took the pictures. I softened some of the edges and signed it. I felt that it was at the stage where it was still lively but not overdone. When I sent it to Laura for approval, however, she wanted a greater level of detail and depth. And so the work continued:

Working with smaller brushes, increasing value contrast (i.e. making dark things darker next to light things, which makes them pop), softening some edges.

And the finished, color-corrected version!

She loved it. :)