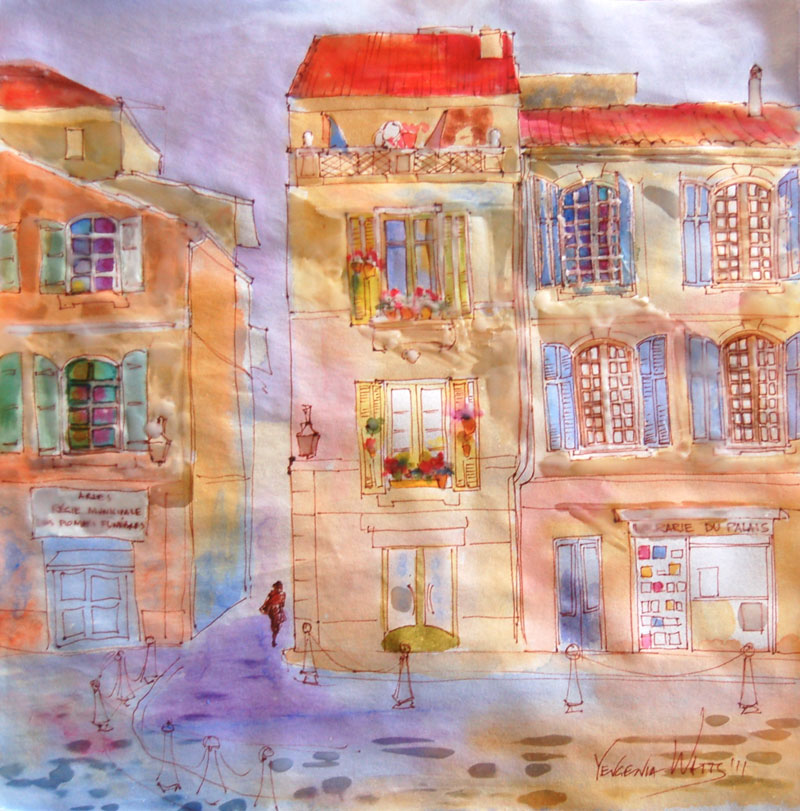
Watercolor batik is a painting technique that has been floating around for a while. I have painted on fabric before (not batik method strictly speaking), I knew the theory (basically, you use wax/paraffin in place of masking liquid and rice paper in place of regular watercolor paper) and I kept seeing paintings done in this technique here and there. Finally, months after bookmarking a demo by Kathie George on Artists Network, I decided to give it a try.
Materials and gear:
- Watercolor paints
- Some kind of oriental/rice paper. I used something looking like the regular sumi-e rice paper (the one that has no sizing and makes your paint run like crazy)
- Ink pen (optional). I used Pigma Micron
- Brushes - your regular watercolor brushes plus something designated specifically for applying paraffin. I used a 1.5" flat bristle brush from a hardware supply store and a couple of smaller bristle brushes.
- Electric griddle or some other way to keep the paraffin melted.
- Paraffin - I used a candle stump
- Iron
- Lots of newspapers/tissue paper/any thin absorbent paper that you can use for ironing the paraffin off your painting
The process
1. Make your drawing if you plan on having the lines. If you need to make a sketch first and then trace it onto the rice paper, be my guest. I drew straight on the rice paper - I think the uneven lines are not so horrible and actually add character.
Here, I already decided what my lightest lights are (a term meaning the areas of the artwork that will be the lightest in value. In watercolor, you typically leave them untouched, no paint at all). I masked them out with melted paraffin.
2. Apply first wash of color. You will be working from light to dark, so decide what your next lightest areas are and fill them in. Often, those are going to be your yellows, as they tend to be light in value. I also painted the bright colors of the flowers on the windowsills at this stage. I wanted to keep them fresh, so no more layers of paint on top.
3. Apply more paraffin to areas that you want to keep the way they are. Paint middle values.
4. Same thing. Mask out the areas that you are happy with and move on with another layer of watercolor. Here I am about to add the darks.
5. The image below is almost completely covered with paraffin.
6. More paraffin, more paint.
7. Once you're done, cover it all completely with paraffin and crinkle the paper. Apply a wash of color on top. I chose rusty orange to match the color of my ink lines. It will bleed into the cracks and bead on top of paraffin.
This step is optional. If you don't want the web pattern on top of the painting, feel free to skip it.
8. Newspapers and iron time. Place the painting between several layers of newspaper or tissue paper and keep ironing until all of the paraffin comes off. You will need to change the layers of paper to new ones in the process.
This is what it looked like after removing paraffin. I was fine with it for a day but then decided the white spots in the bottom third of the painting were just too distracting. When I tried painting them over, I couldn't: there was still some paraffin in the paper. One extra ironing removed it and I was able to tone the white spots down.
Here is the finished version:
Detail views:
And a handy time lapse video: French Windows
Hope you enjoyed it! Questions? Suggestions? Comments?


